MindMap Handwriting Layers: Manage Your Annotations in Layers
💡Feature overview:
On the mind map canvas, create and manage multiple
sketch layers—just like layers in Photoshop—for layered note-taking, overlay reference, and quick switching. For example: use Layer 1 for your first round of practice and Layer 2 for your second-round corrections, then overlay them for comparison during review.If you are not yet familiar with the basic handwriting feature, we recommend reading: Handwriting: Write Freely in Documents, Mind Maps, and Cards.
1 Creating Sketch Layers
By understanding what the default sketch layer is, how to create new sketch layers, and how to switch between layers, you can achieve clearer layered note-taking and review management on the mind map canvas.
💡Use cases
Quick annotations on the default layer:
When you just want to jot something down and don't need layer management, write directly on the canvas, and your strokes are automatically saved to the
default sketch layer.Create separate layers for round-by-round review:

Tap or double-tap the handwriting icon to open the handwriting settings, then choose
➕ New Sketch Layerand name it. Record your first round of practice and second round of review on separate layers for easy layered review and comparison.Parallel multitasking:
Use a separate layer for each topic or task, and switch between them quickly while editing.
For example, a "Derivation" layer records the derivation of math formulas, while a "Mistakes" layer records your problem-solving process.
1.1 The Default Sketch Layer
💡When you have not created any new sketch layers, annotations made with the handwriting tool on the mind map canvas are saved in the
default sketch layer.The default sketch layer is the base layer; it is always kept and cannot be deleted, ensuring your strokes always have somewhere to be saved.
1.2 Creating a New Sketch Layer
💡For beginners, we recommend: first use the
default layerto record key annotations, then create asketch layeronce your needs become clear.


Mind map handwriting tool
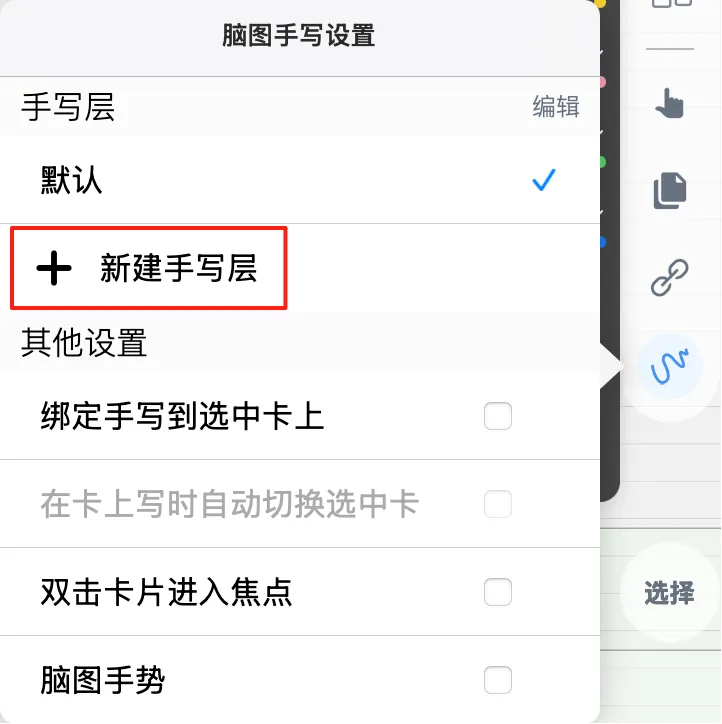
Double-tap the mind map handwriting tool (shown by the icon above) to open the MindMap Handwriting Settings panel:
-
Select
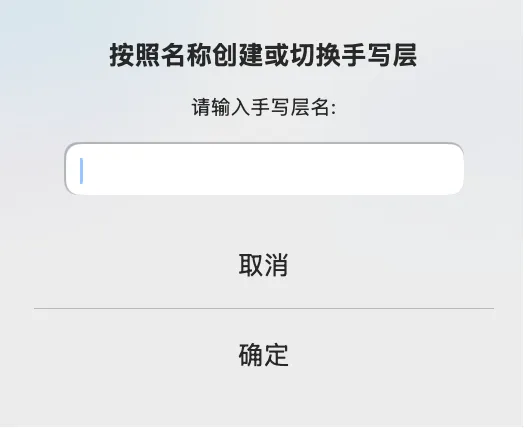
➕ New Sketch Layer- Enter a name for the new layer to create a blank sketch layer.
💡Naming tips (to make later merging and searching easier):
- Use a topic/date/round convention, such as "Probability_1125_Round1" or "Reading_Round2 Recap".
2 Using Sketch Layers
2.1 Switching Layers
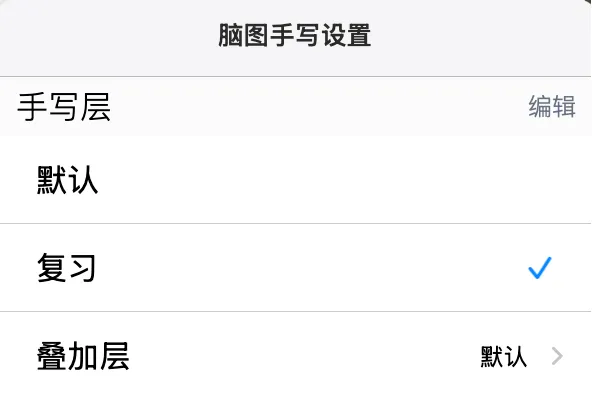
There are two ways to switch sketch layers.
Tap or double-tap the mind map handwriting tool icon to open the MindMap Handwriting Settings panel, then simply tap a different layer to switch to it.

2.2 Overlay Layers
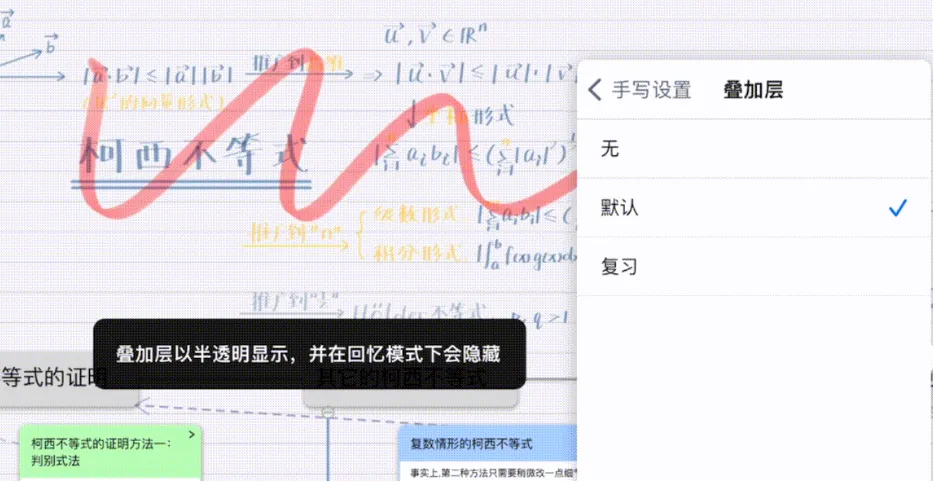
💡Overlay layer: Displays other layers semi-transparently above the current layer (like a copybook or tracing paper). They can only be viewed, not edited, and are used for reference and comparison.
💡Overlay layer use cases
Reference and comparison:
The
Overlay layerfeature displays one or more sketch layers semi-transparently over the current layer. This suits scenarios where you need to reference, compare, or integrate content from different annotations—for example, overlaying your first-round practice and second-round answer-checking during review.Self-testing with recall mode:
Once you enable document review (cloze blanking and recall mode),
Overlay layerannotations are hidden automatically. Ideal for self-testing and review, this avoids distractions so you can focus on the content at hand.💡Only use overlay layers when you need cross-layer comparison, multi-round review, or integration.
- Turn on/off
Overlay: TapOverlay layerand selectNoneto turn off theOverlay layerdisplay. -

Tap
Overlay layerand select the layer you want to overlay:-
The overlaid sketch layer appears over the current layer in a semi-transparent form, is not editable, and is for reference and comparison only.
-
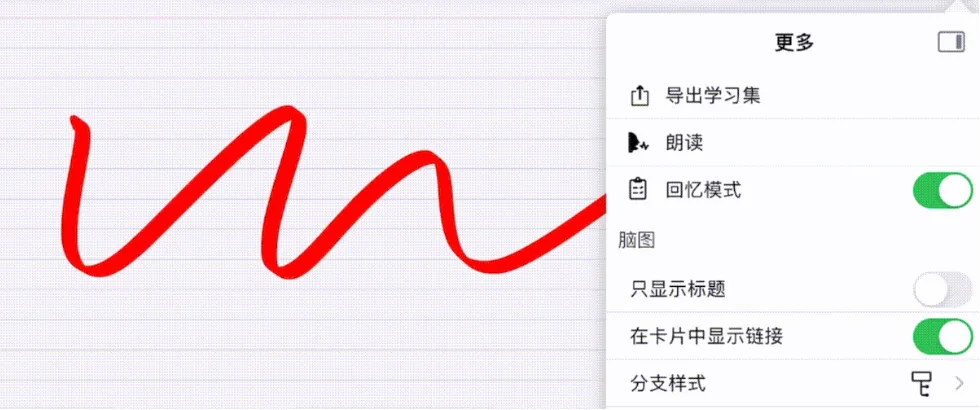
With recall mode: Once
recall modeis turned on,Overlay layerannotations are hidden automatically (for self-testing and reinforced recall).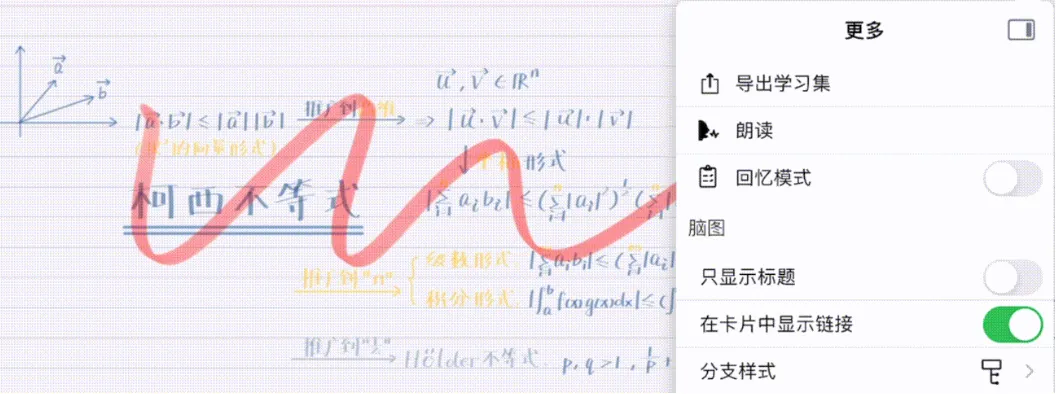
-
3 Managing Sketch Layers
Enter edit mode: In Sketch Layers, tap Edit at the top right, then tap the ... (More) button next to a sketch layer.
3.1 Renaming or Merging Sketch Layers
Tap MindMap Handwriting Settings - Sketch Layers - Rename or Merge
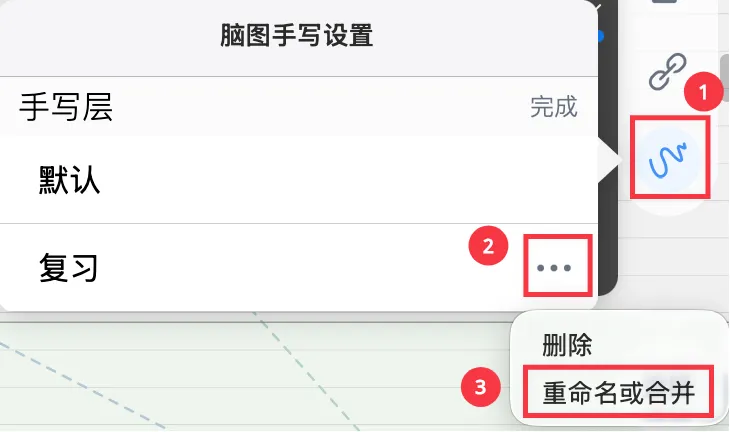
- Rename: Enter a new layer name to rename the current sketch layer.
-
Merge: Enter the name of an existing target layer to merge the two sketch layers.
3.2 Deleting Sketch Layers
💡Deleting a layer is irreversible, so first make sure you no longer need any of the layer's content at all.
We recommend using
Mergefirst to keep any useful annotations.
-
Tap
MindMap Handwriting Settings-Sketch Layers-Delete
💡Summary: recommended workflow for MindMap Handwriting Layers↓
- When you start studying, jot quick annotations on the default layer first
- When you need round-by-round review, create layers such as "Round 1" and "Round 2"
- During review, overlay the previous round's layer to compare your progress
- At the end of the term, merge all layers or delete temporary layers