Create a Blank Notebook
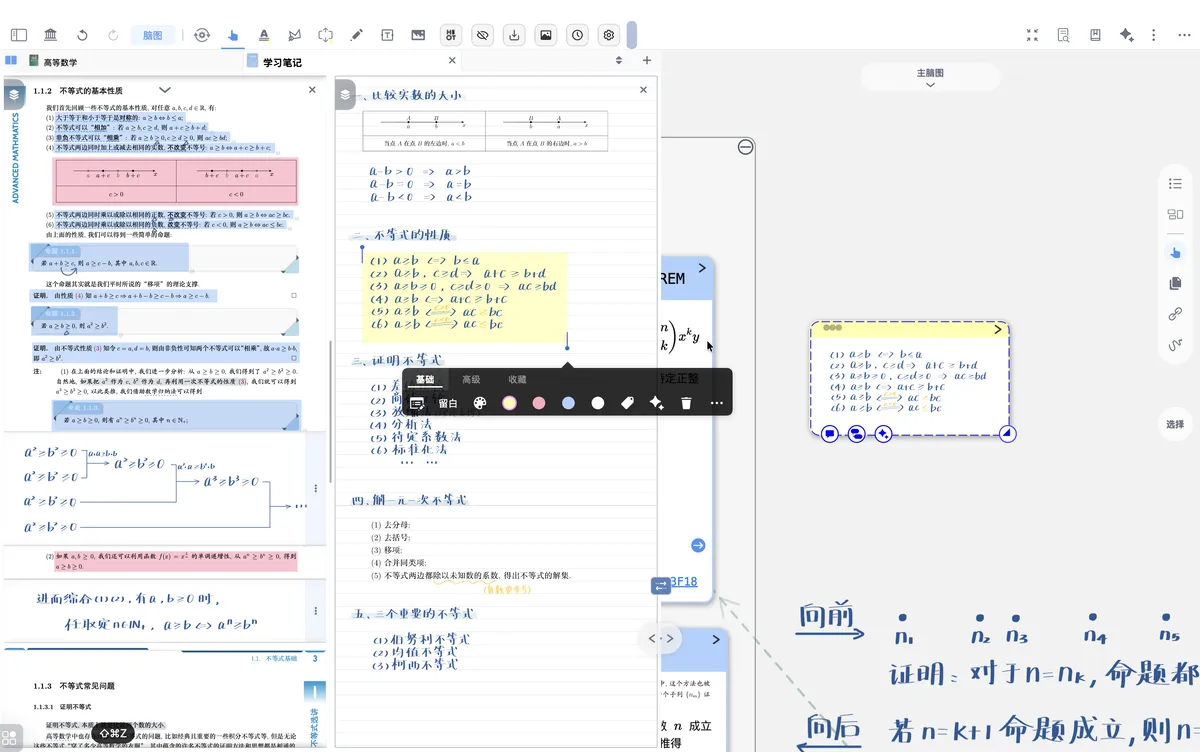
💡 The New Notebook feature in MarginNote 4 lets you create a standalone blank notebook within a study set, for after-class notes, drafts, handwritten sketches before making a mind map, and more. Just like notes taken directly on a PDF, its contents can be turned into cards and brought into your mind maps and review workflow.
❗ Prerequisites: The new blank notebook is saved in the study set's "Documents" section. If you don't have a study set yet, create one first.
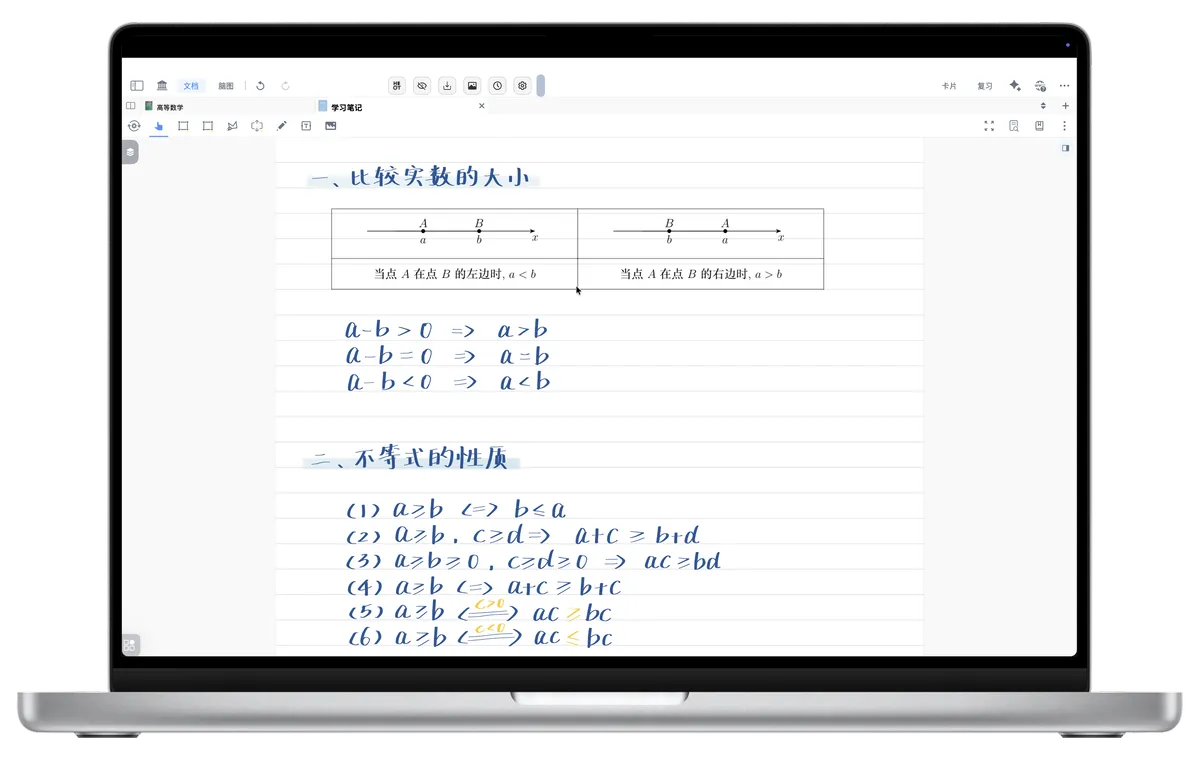
💡 A new notebook offers the following advantages.
- Multiple page styles: blank, dotted, grid, and lined (more may be added in future versions).

- Notes can be "turned into cards": handwritten or typed notes can be made into cards that take part in mind maps, reviews, and review plans.
- Integration with study materials: it can cross-reference and link with PDFs, EPUBs, and other documents in the same study set, making it easy to trace sources during review.
1 How to create a notebook


1.1 Create from the study set page (recommended for centralized management)
- Open MarginNote 4 and go to the target study set page
- Find the **
Documents** section on the page and open it - Tap the **
Addor+** button -
From the pop-up options, select
New Notebook(as shown in the icon below)New Notebook
1.2 Create from the document/mind map page (recommended for creating on the fly while reading)
- Open a document or enter the document reading view.
-
In the
Document Tabsarea, tap the import button on the right (as shown in the icon below)Import
-
From the pop-up menu, select
New Notebook
💡 Notes on reusing notebooks
- Reusing a notebook: if you want to use the same notebook in another study set, drag it to the target study set on the study set page.
- With a new document notebook or a handwriting layer, a notebook can be reused in a continuous cycle. (See: Layers: Document Notebook & Handwriting Layer)
2 Basic notebook features
💡 The MarginNote 4 blank notebook is a three-in-one canvas of "handwriting + typing + media," and every element can be excerpted, then "turned into a card," and brought into the mind map and review flow.
2.1 Note-taking features the notebook supports
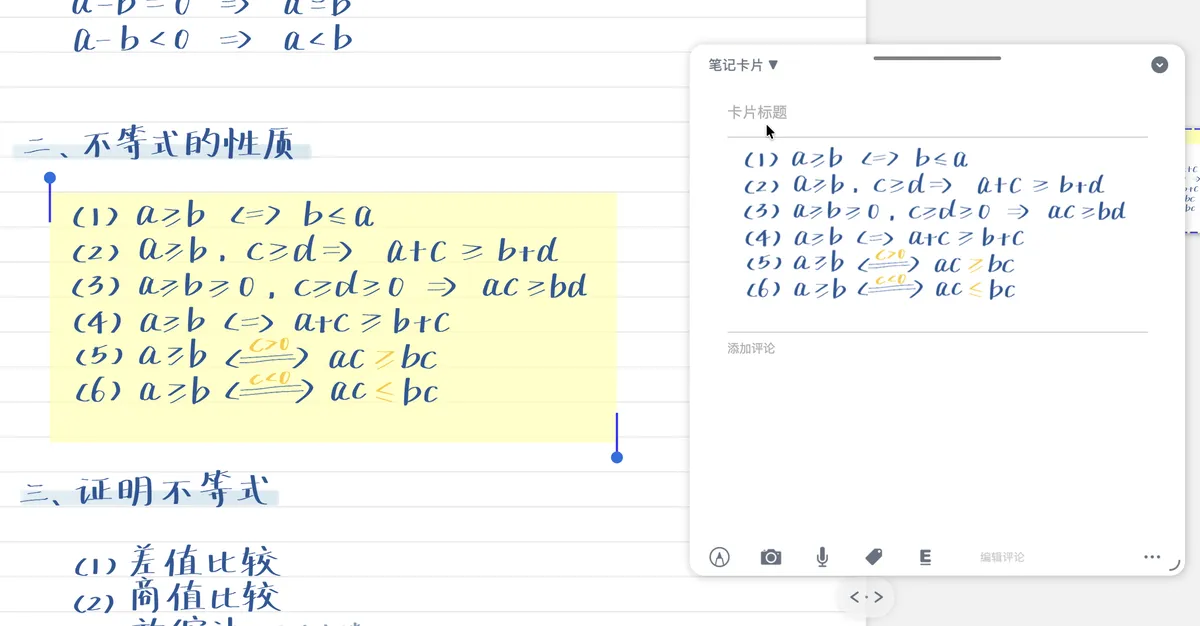

A new notebook supports not only handwriting but also a rich set of note-taking tools, so you can record your ideas flexibly:
-
Handwritten notes: write and draw smoothly with Apple Pencil or another stylus, and turn handwritten content into cards. (See: Handwriting: Write Freely in Documents, Mind Maps, and Cards)
-
Text box: insert standalone text boxes for layout. (See: Create a Text Box / Image / Photo)
- Insert images and photos: import images from your photo library or take a photo to insert directly into the notebook, enriching your notes. (See: Create a Text Box / Image / Photo)
- Layers: keep the handwriting layer and the document layer separate for easier management and reuse. (See: Layers: Document Notebook & Handwriting Layer)
2.2 Change the notebook page style (blank/dotted/grid/lined)
💡 A new notebook in MarginNote 4 offers four different page styles (blank, dotted, grid, lined) to suit different learners' note-taking habits. (More styles may be added as the software is updated.)
- Open the notebook document you want to change
-
At the top of the study set screen, find the "document toolbar" → tap the
Document - Morebutton on the right.Document - More
-
In the background style selector, choose in order from left to right: blank, dotted, grid, lined (your choice applies immediately).
💡 Tip: changing the page style does not affect notes you have already saved.
2.3 Notebook page management
Besides changing the page style, the notebook also offers flexible page management:
- Add pages: add new pages to the notebook at any time to expand your note space without limit.
- Crop pages: crop notebook pages to fit different reading or printing needs and optimize how they look.
💡 For detailed steps, see: Add/Delete Pages and Crop Paper
3 Practical tips and suggestions (boost efficiency)
- Naming conventions: use a consistent naming scheme for notebooks and cards, such as (Course_Chapter_Topic), to make them easy to find.
- Build a table of contents: set up a simple table of contents in the notebook for quick navigation. (See: Generate a Document Table of Contents Manually & Automatically)
- Use styles: compare the page styles (dotted is good for sketches, grid for math/tables, lined for shorthand) and choose based on your purpose.
-
Tidy up cards regularly: turn scattered temporary notes into cards and organize them in the mind map. (See: Generate a Mind Map by Excerpting Manually)