
Outline Display and Sorting
1 Outline Display Modes
💡 Outline display modes mainly control how your card content is presented in the outline view, letting you choose to display all content or show only the key information as needed.
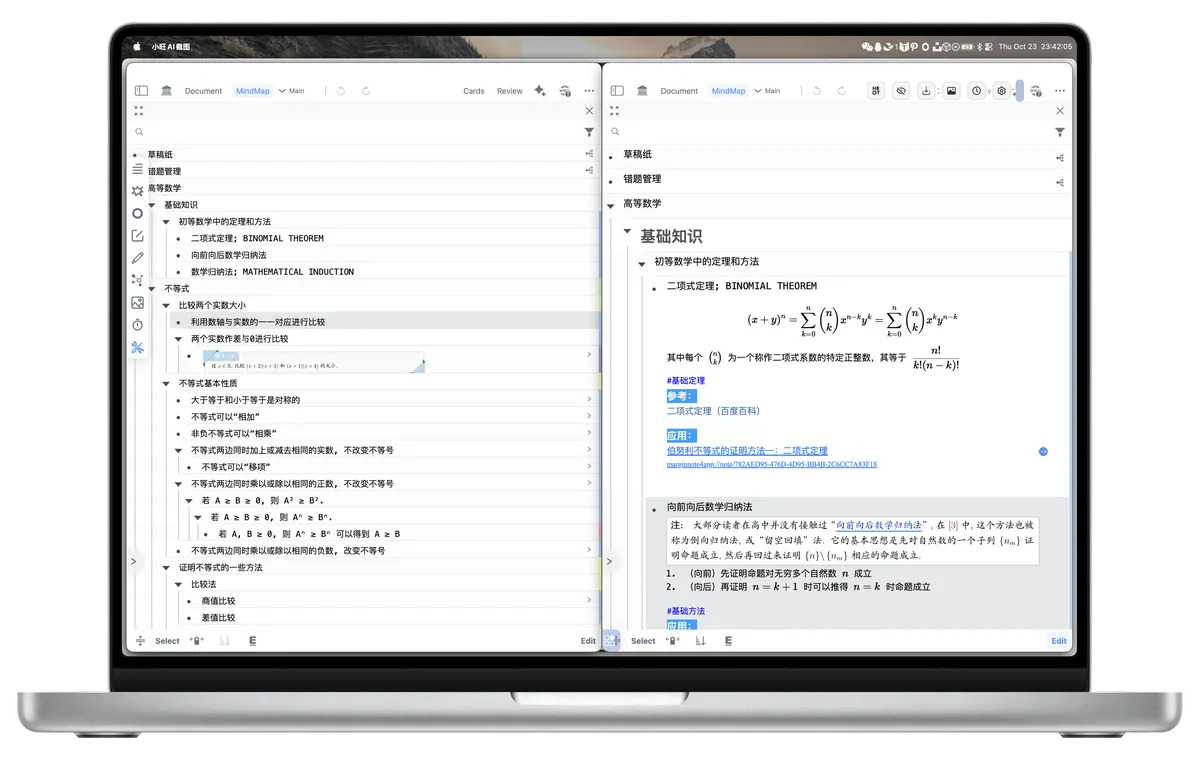
1.1 Single-Line Display Mode: Quickly Skim the Outline's Backbone
💡 When your outline contains a large number of cards with detailed notes, the standard outline view can become overly crowded and cluttered. To help you quickly grasp the outline's overall structure and main content, MarginNote provides a "Single-Line Display Mode".
Features of this mode:
- Streamlined content: In this mode, each card shows only its first line of text. The rest of the card's detailed content is automatically collapsed, making the outline view cleaner.
- Title first: If the first line of a card is a title, then only that title is shown in Single-Line Display Mode.
How to enter/exit Single-Line Display Mode:
-
Using the bottom toolbar button:
-
Tap the "Single-Line Display" button at the far left of the outline's bottom toolbar (shown by the icon below).
Single-Line Display
-
Tap the icon again to exit Single-Line Display Mode and return to the standard display.
-
-
Using gestures (faster):
- To enter the mode: In the outline view, perform a "two-finger pinch" gesture on the screen with two fingers (just like zooming out on an image).
- To exit the mode: Perform a "two-finger spread" gesture on the screen with two fingers (just like zooming in on an image) to return to the standard display mode.

1.2 Collapse All: Hide Secondary Nodes, Focus on the First-Level Structure
💡 The "Collapse All" feature helps you quickly hide all secondary card nodes and show only the first-level nodes in the outline, so you can focus on the outline's highest-level structure.
-
Tap the
Sortbutton in the outline's bottom toolbar (shown by the icon below).Sort
-
In the pop-up menu, select the
Collapse Alloption. - At this point, all subordinate secondary nodes (including all second-level, third-level, and other child cards) will be collapsed, leaving only the cards that serve as first-level nodes.

1.3 Expand All: Show All Nodes, View the Complete Structure
💡 Opposite to
Collapse All, theExpand Allfeature expands all card nodes in the outline with a single tap, letting you view the complete hierarchy and all cards.
-
Tap the
Sortbutton in the outline's bottom toolbar.Sort
-
In the pop-up menu, select the
Expand Alloption. - At this point, all card nodes in the outline (across every level) will be fully expanded, and you can see all child cards.

💡 Single-Line Display Mode vs. Expand/Collapse
Please note that "Single-Line Display Mode" and node "Expand/Collapse" are two independent features:
- Single-Line Display Mode: Concerns how card content is displayed. It determines whether each card shows all its content or only its first line.
- Expand and Collapse: Concerns how the card hierarchy is displayed. It determines whether the parent-child relationships between cards are expanded or collapsed.
2 Outline Order: Adjusting How Cards Are Arranged in the Outline
💡 The outline order feature lets you flexibly adjust the arrangement and hierarchical relationships of cards in the outline according to your own study habits and content logic.
2.1 Manual Sorting: Freely Adjust Card Position and Hierarchy
💡 The manual sorting feature gives you complete freedom: you can drag cards as needed to adjust their position within the same level, or change their hierarchical relationships (that is, indent or outdent them).
Steps:
-
Enable the outline indent feature:
-
Tap the
Outline Indent Gesturebutton in the outline's bottom toolbar.Outline Indent Gesture
-
-
Once the "Outline Indent" feature is enabled, you can drag any card.
- Adjust order within the same level: Drag a card to another position within the same level and release to change its order.
-
Adjust the hierarchy (indent/outdent):
- Drag a card to the right and release when the indent indicator appears; the card becomes a child of the card above it (moved one level deeper).
- Drag a card to the left and release when the outdent indicator appears; the card is promoted one level (becoming a sibling of its former parent node).
-
Drag a node to manually adjust its level.

💡 See also: the Outline Indent gesture — drag to adjust the hierarchy.
2.2 Automatic Sorting: Quickly Organize the Outline by Specific Rules
💡 In addition to manual adjustment, MarginNote also offers several automatic sorting features that help you quickly organize the outline according to preset rules. This is especially useful for an initial cleanup after excerpting a large number of cards from a document.
2.2.1 Sort by Document Page: Organize Cards in Source Order

💡 This feature arranges cards according to their page order in the original document. If you excerpted your notes from a PDF or EPUB document, this feature ensures your outline stays consistent with the document's reading order.
-
Tap the
Sortbutton in the outline's bottom toolbar.Sort
-
In the pop-up menu, select
Sort by Document Page. - At this point, all cards in the outline will be arranged in the order of the pages on which they appear in the original document.
2.2.2 Sort by Date
💡 This feature sorts cards by their creation time (that is, the time you added each card). If you want to review or trace the history of how your notes were created, this is a very useful feature.
- Tap the
Sortbutton in the outline's bottom toolbar. - In the pop-up menu, select the
Sort by Dateoption. - At this point, all cards in the outline will be arranged in the chronological order in which they were added (created).
Sort