Mind Map Handwriting Background and Card Size Settings
💡 This page mainly covers
mind mapsettings: card display settings, mind map branch styles, and handwriting settings, along with common use cases and pairing suggestions to help you quickly beautify your mind map and improve presentation and review efficiency. New users can generally just use the default settings (see below), then adjust as needed later based on actual usage.💡 Unless otherwise noted, all mind map settings described on this page are global settings, and changes will affect all cards‼️.
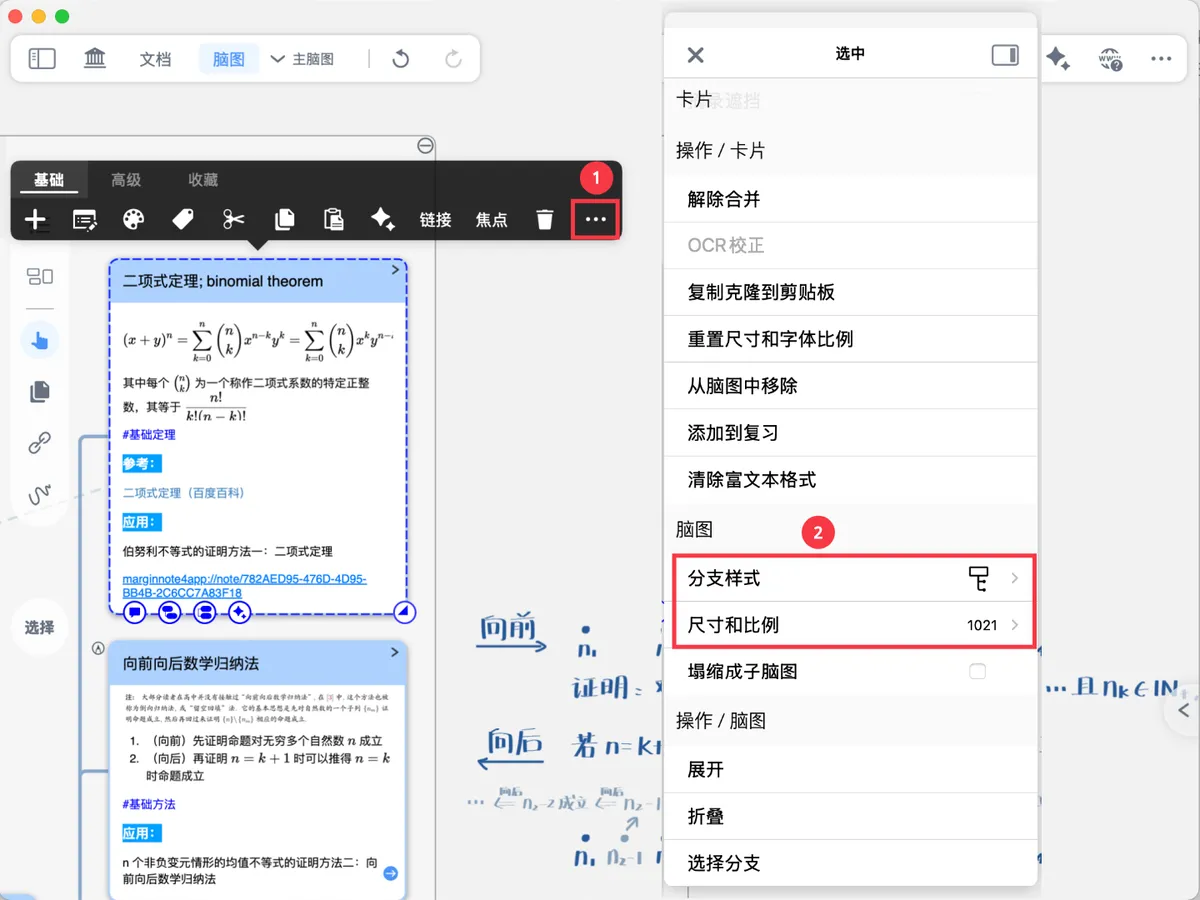
To change the branch style or size ratio of an individual card/node, you can adjust it separately in the card pop-up menu.
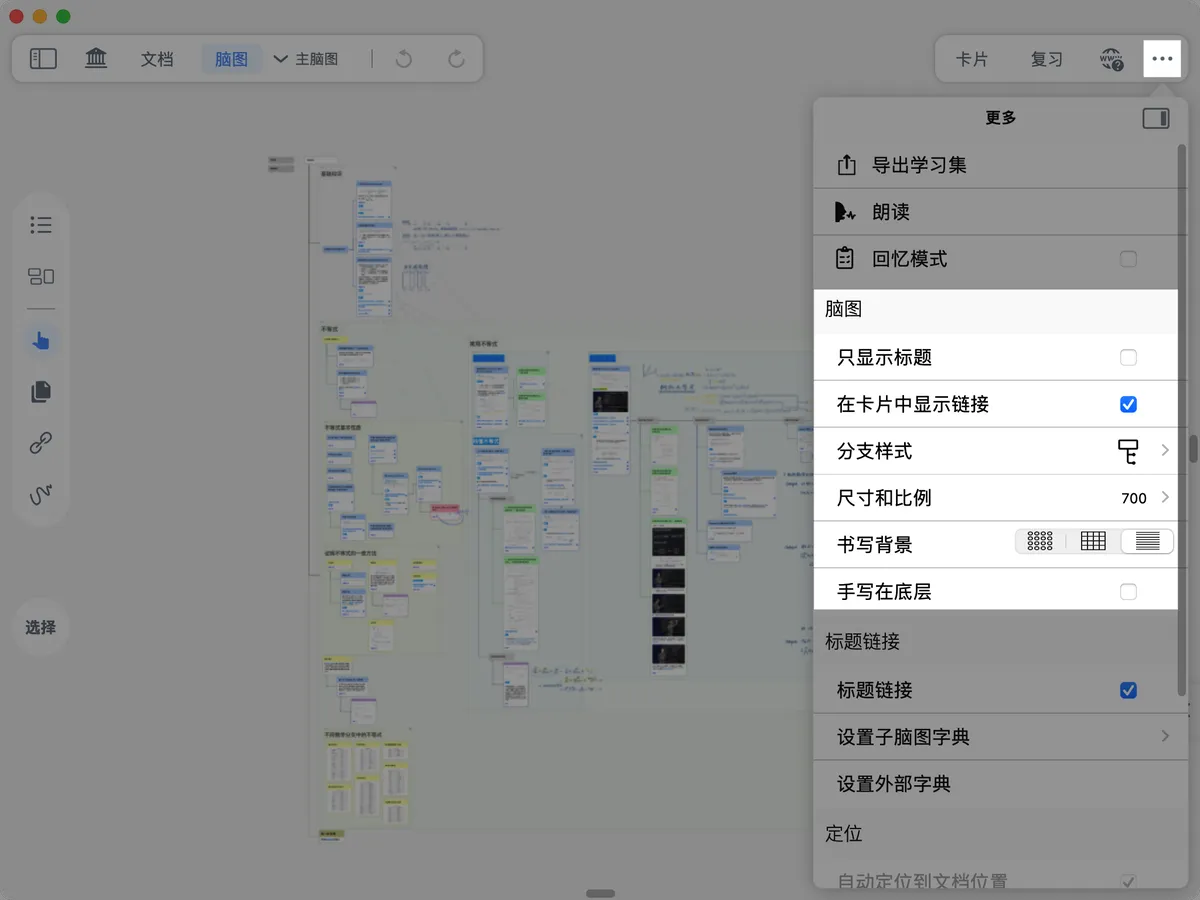
1 Card Display Settings

1.1 Title-Only
When Title-Only is enabled, cards show only the title and hide the comment content;
when Title-Only is disabled, cards show both the title and comments.
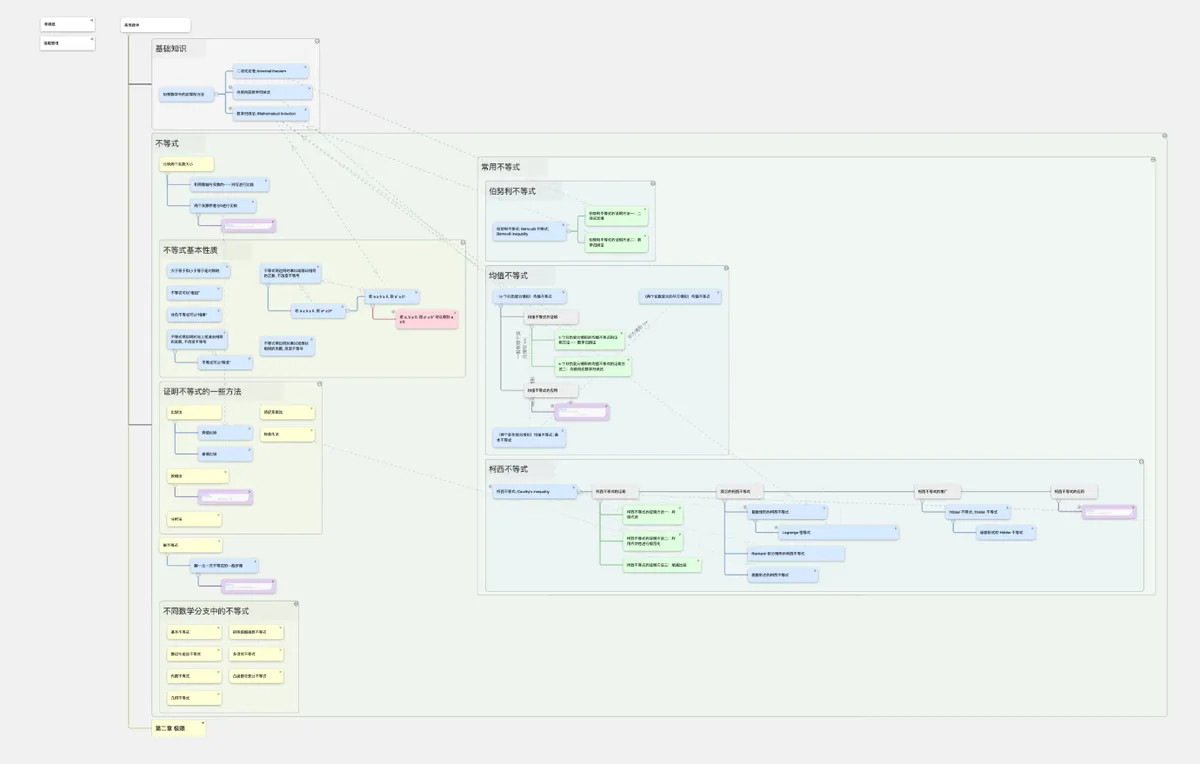
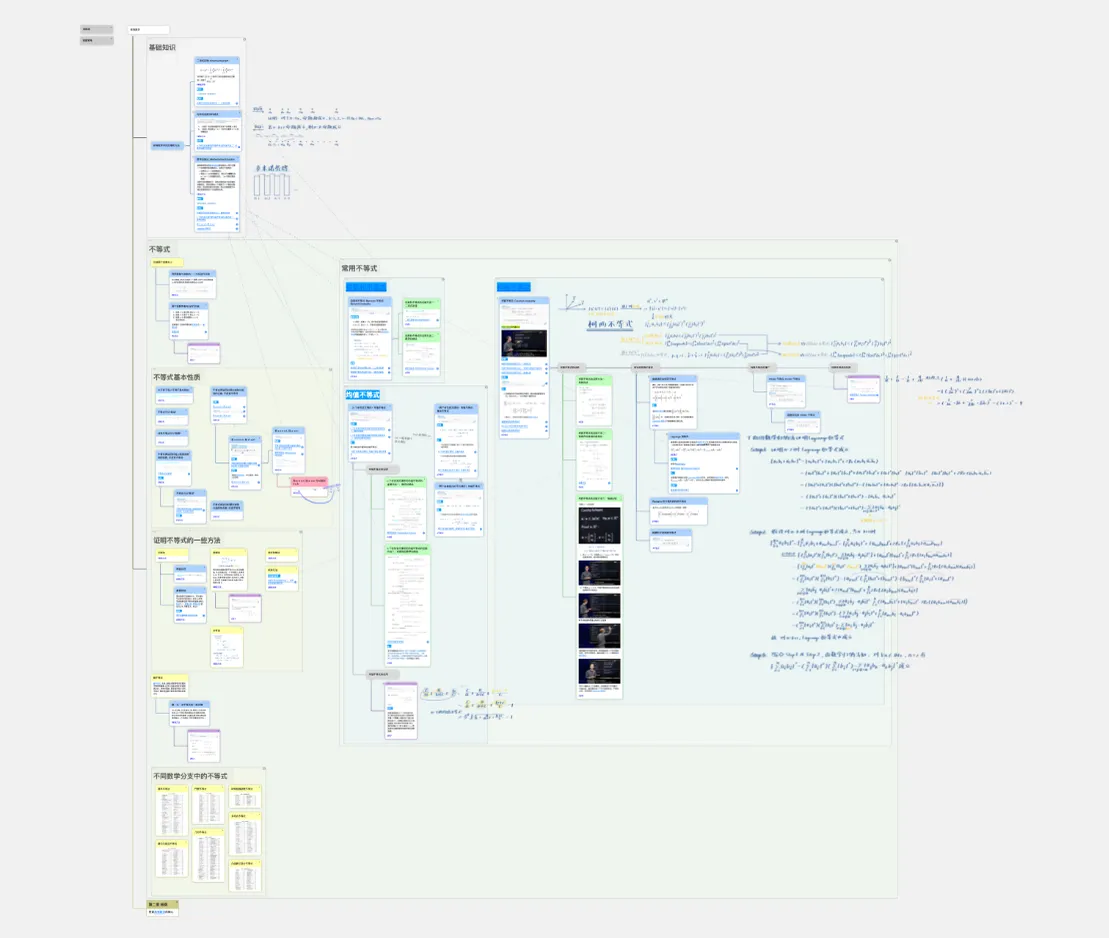
💡 Use cases for enabling
Title-Only:
- Reporting and presenting: hide comments and redundant explanations and show only the structural outline, making it easier to walk through the main thread.
- Quick overview / recap: reduce information density in very large mind maps to quickly scan key topics.
- Focused review: avoid being interrupted by detailed comments when reviewing an outline.
1.1.1 Click to View Full Card
Once Title-Only is enabled, an additional sub-option appears in the menu: Click to View Full Card.
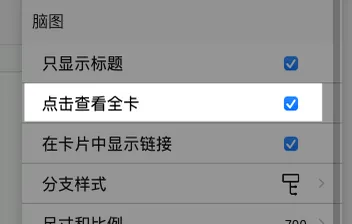
With Title-Only enabled, cards do not expand by default. To expand them, additionally enable Click to View Full Card: tapping a card will then expand it and show its full content.

💡 Use cases for
Title-Onlycombined withClick to View Full Card:
- Expand and check one by one: during a presentation or review, expand the full content of whichever card you tap, keeping pacing and information under control.
- Review: look at the structure first (titles), then tap to reveal details when you reach an unfamiliar node.
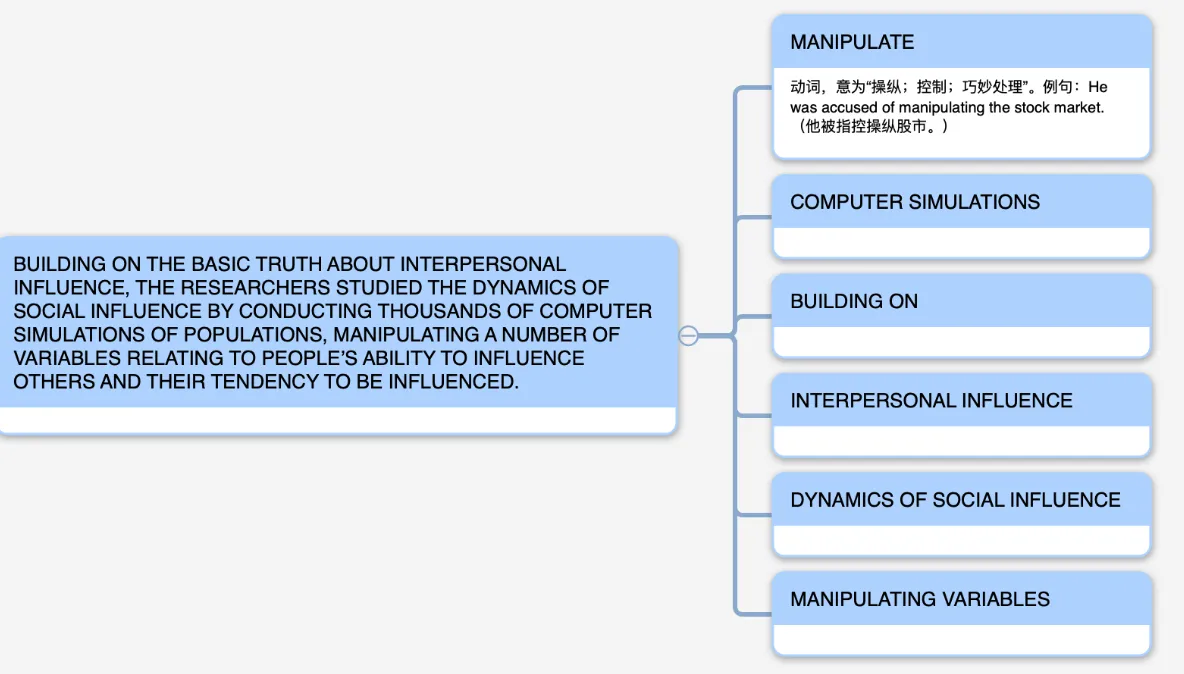
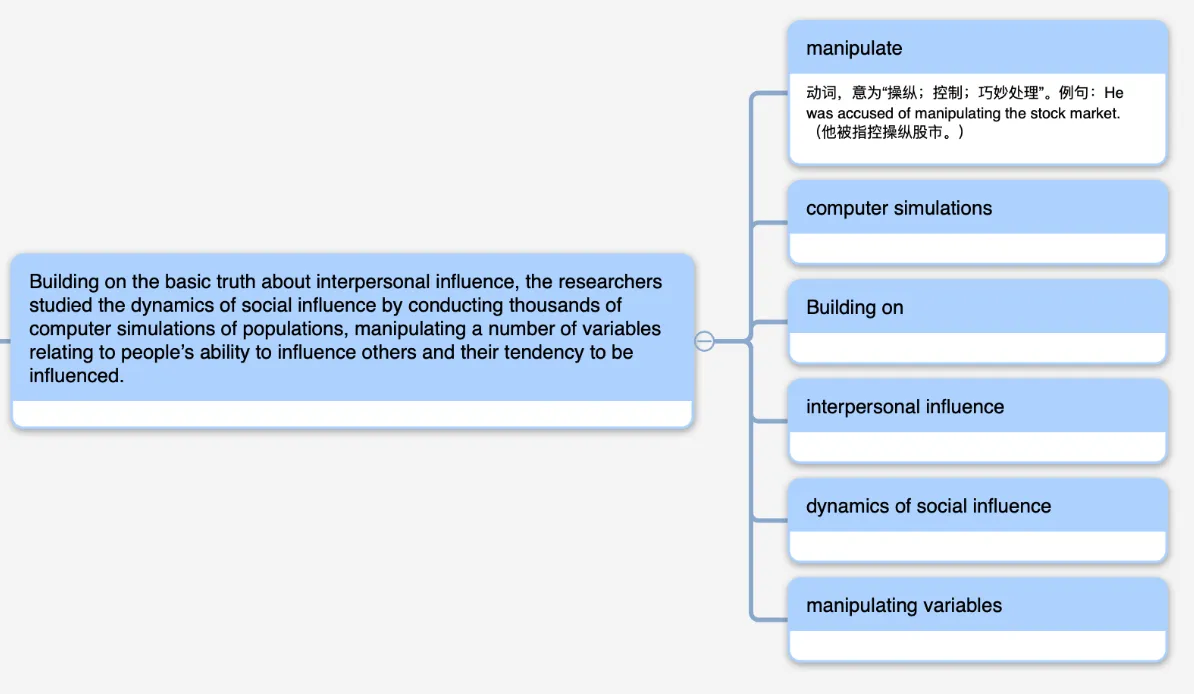
1.2 Uppercase Title
In Settings - Interface Style - Card Style, enable Uppercase Title.
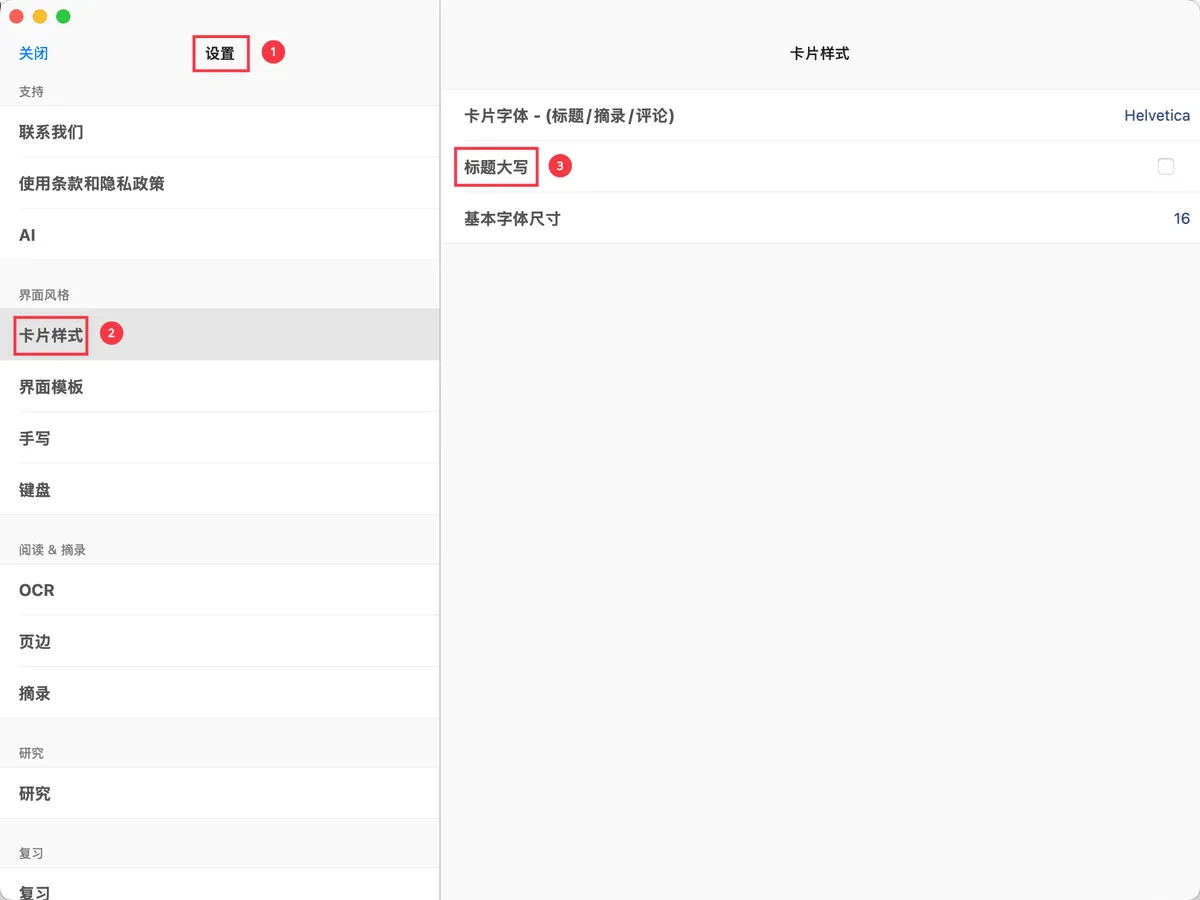
Result:
1.3 Card Font
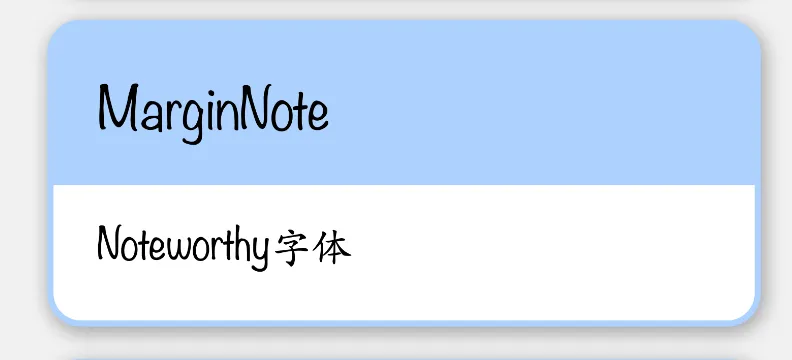
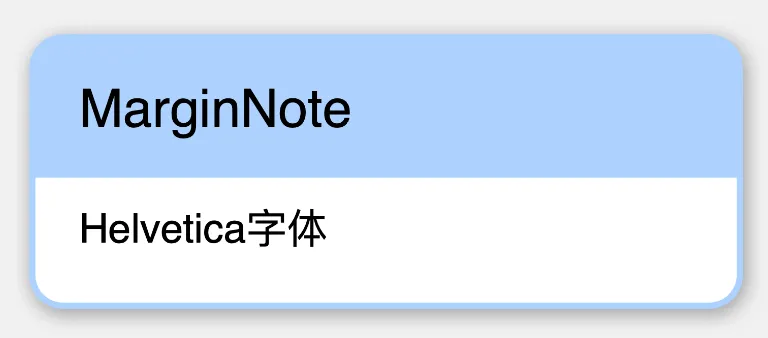
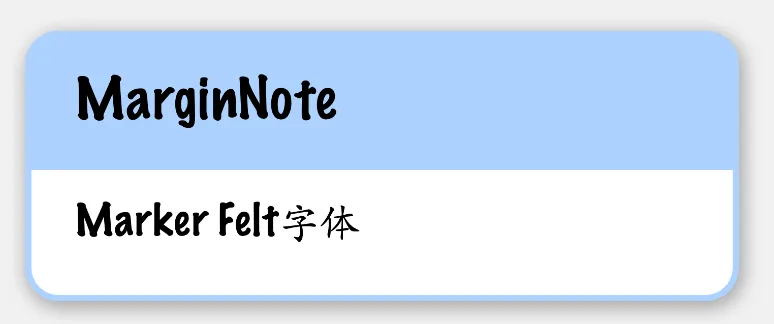
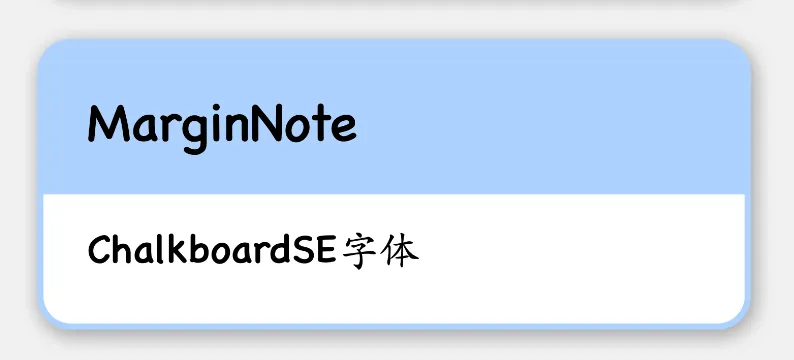
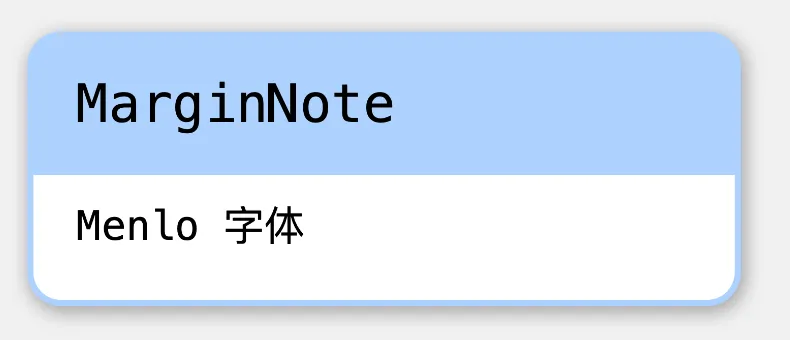
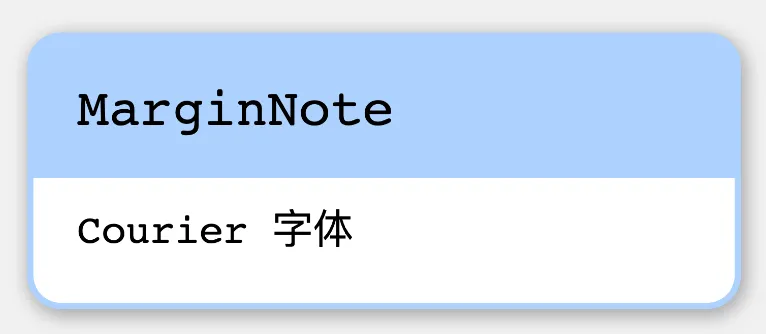
In Settings - Interface Style - Card Style, select Card Font; changing the card font here applies it globally.
Previews of the seven fonts:
Noteworthy
Helvetica
Marker Felt
ChalkboardSE
Menlo
Courier
Avenir Next
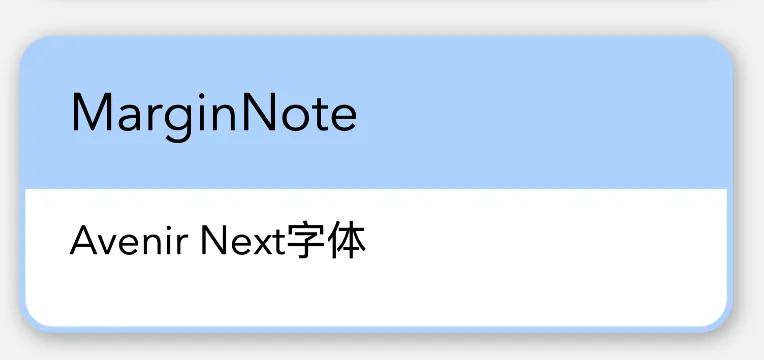
For more personalized fonts, see: Custom Card Fonts

1.4 Show Links in Cards
Enabled by default. When disabled, the one-way / two-way links in a card are hidden on the card, but can still be viewed and edited in the card editor.
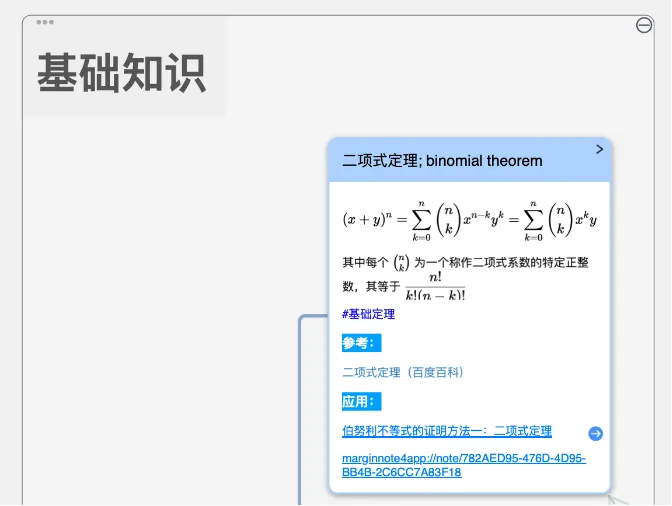
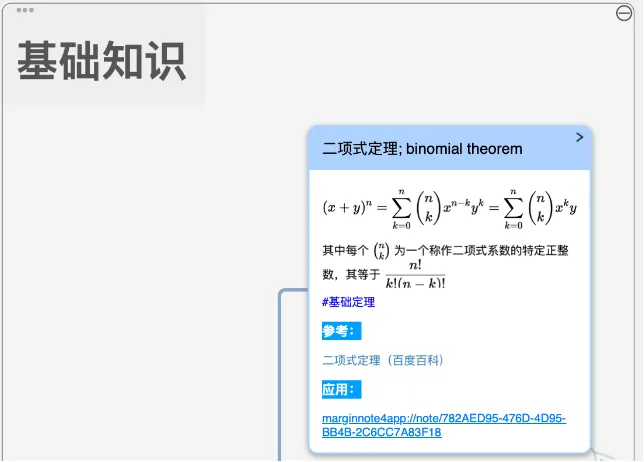
💡 Links can still be viewed and edited through the card editor.
💡 Use cases for disabling
Show Links in Cards:
- Clean layout: hide links before presenting or exporting to reduce visual clutter.
- Editing first: maintain links centrally in the editor to avoid distraction while reading.
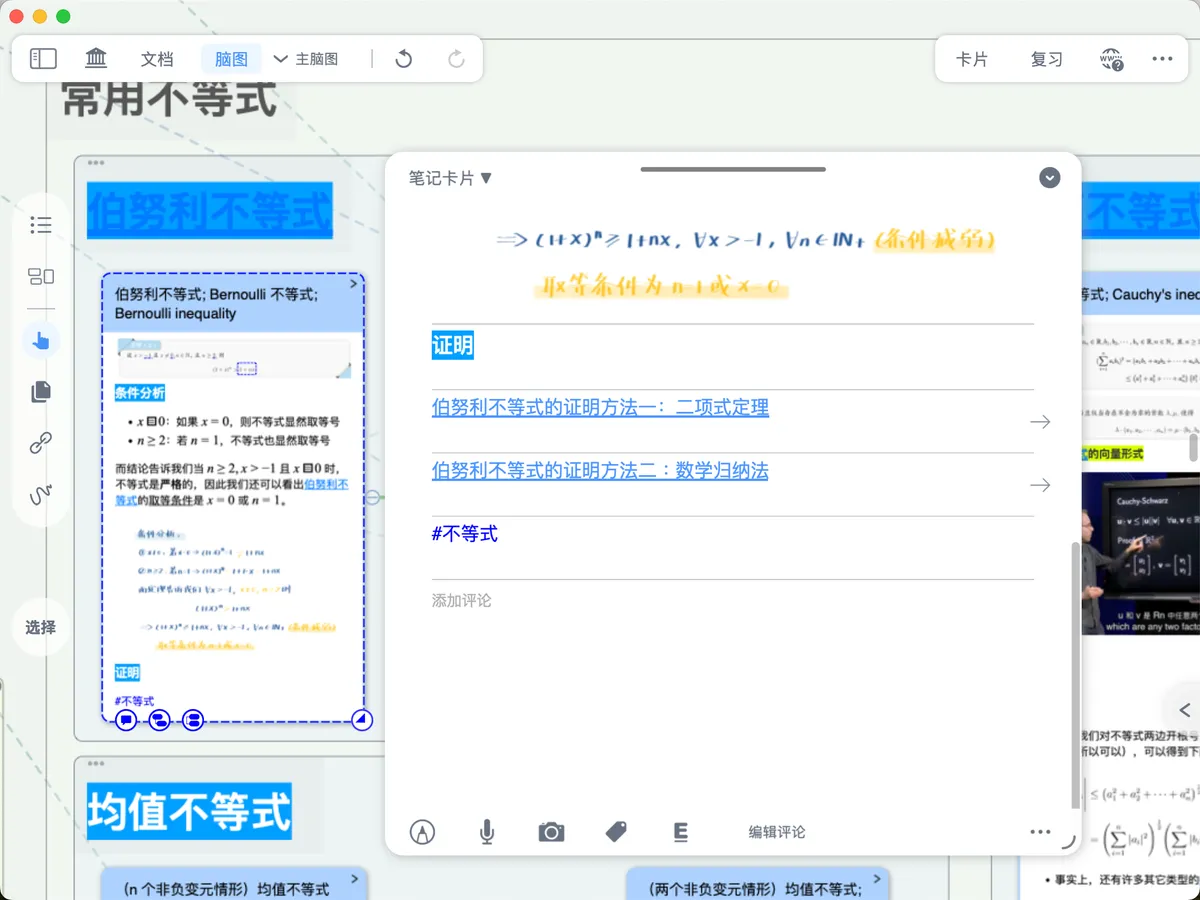
1.5 Card Size and Font Scale
In the Mind Map section under the ... menu in the top-right corner, tap Size and Font Scale to open the submenu. Adjustments made here uniformly control the width, font scale, and compact width of all cards; to adjust only a single card, configure it via the card pop-up menu → Basic - More → Mind Map.
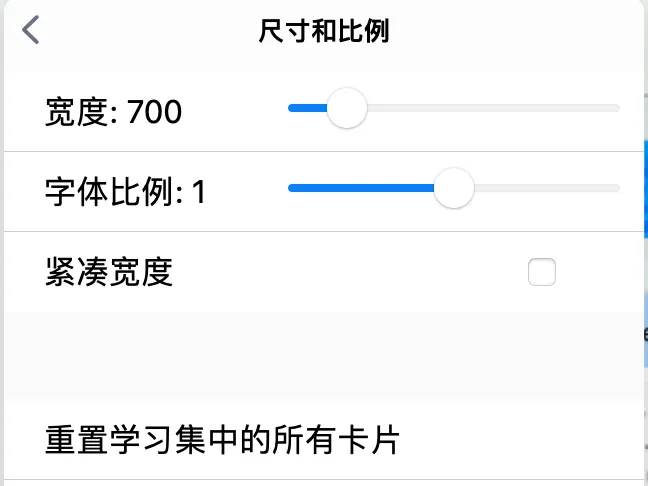
1.5.1 Width
Adjusts the display width of cards.
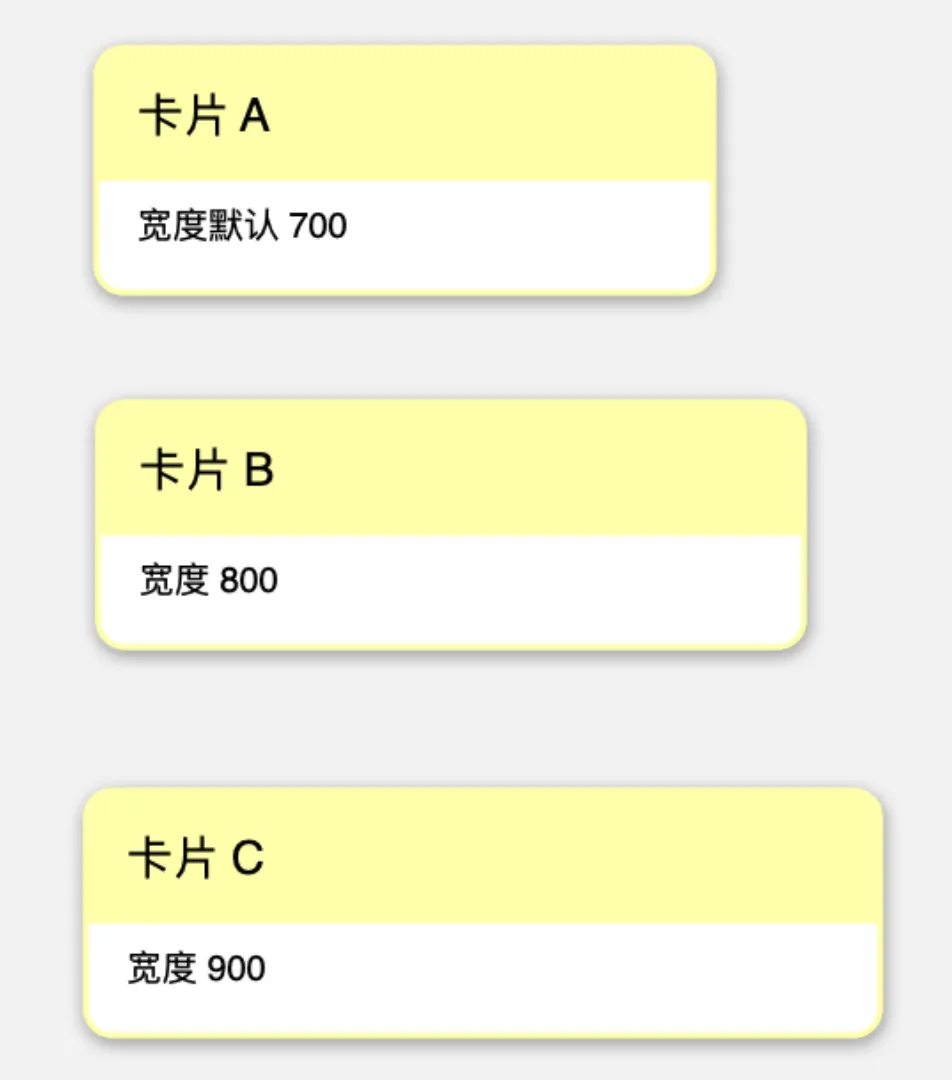
💡 Use cases for adjusting card
Width:
- Narrow for presentations: tighten the width to fit more nodes and reduce line wrapping.
- Wide for deep reading: widen cards to improve the readability of long comments.
💡 Note: cloned and referenced cards revert to the default width.
1.5.2 Font Scale
Proportionally enlarges or shrinks the font of card titles and comments.
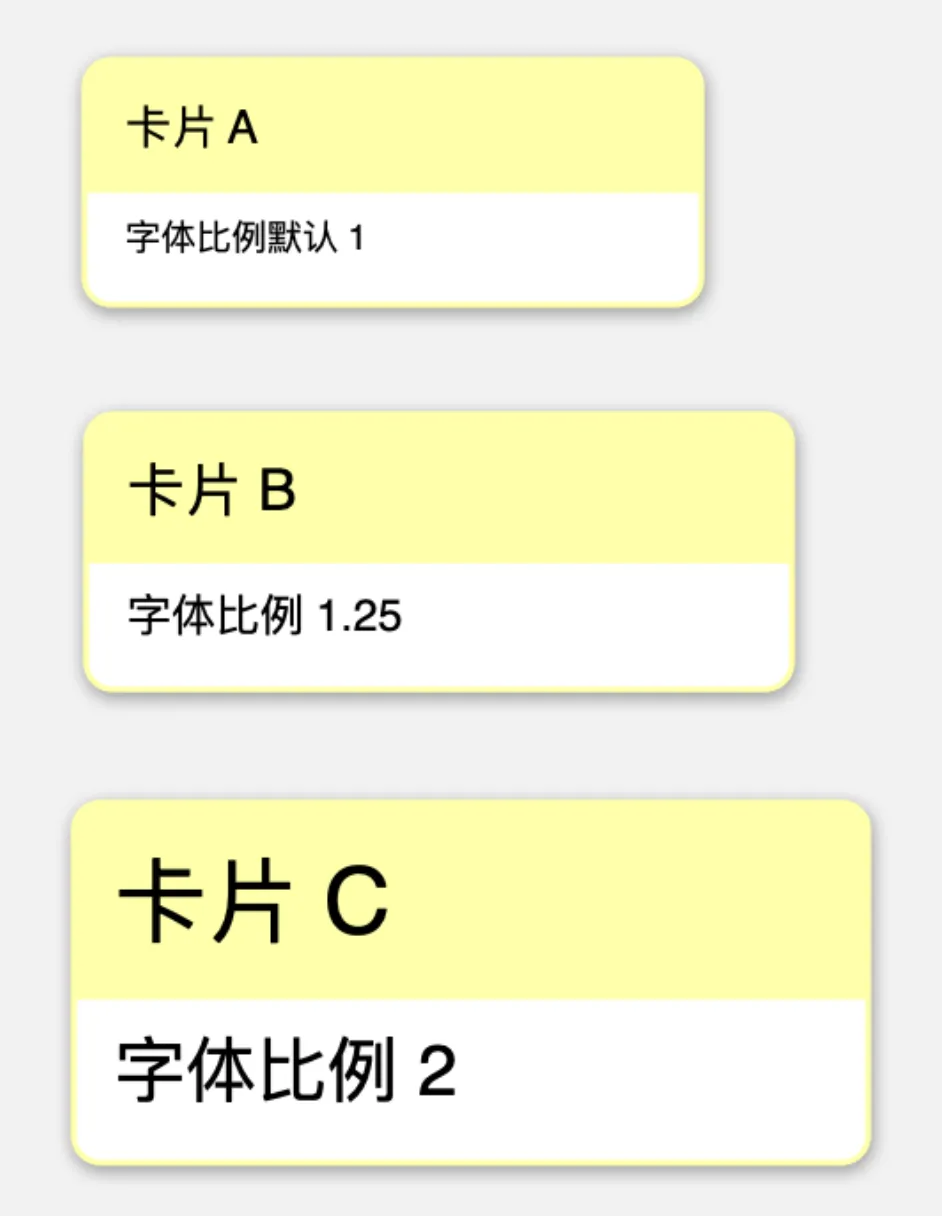
💡 Use cases for adjusting card
Font Scale:
- Large-screen presentations: enlarge the font to improve readability from a distance.
- Information density optimization: shrink the font to fit more content in a large map.
1.5.3 Compact Width
Automatically matches the length of the title and comments to keep the title and content from wrapping.
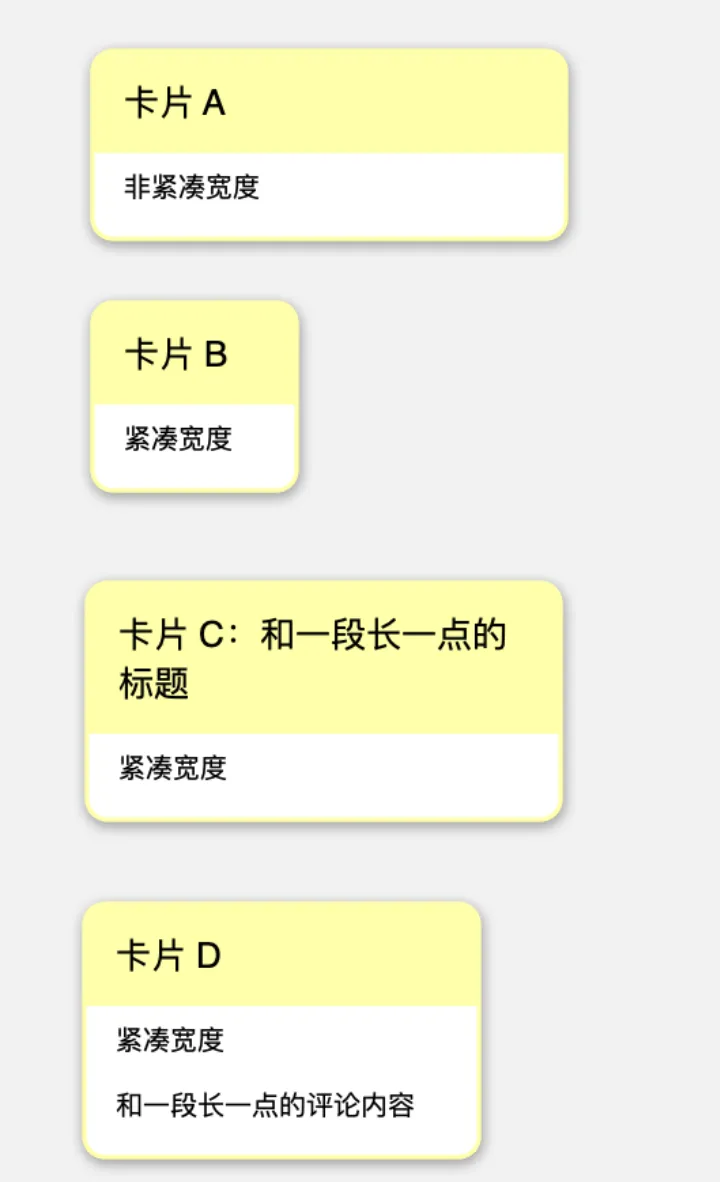
💡 Use cases for adjusting card
Compact Width:
- Very large mind maps: reduce the horizontal footprint to improve the overall view.
- Structure-oriented: prioritize showing the hierarchy and branch direction.
💡 The
Size and Font Scaleset through the mind map settings panel changes all cards in the mind map. To modify only a single card, select that specific card →Basic - More→ Mind Map → Size and Font Scale.💡 Combination suggestions
- Clean layout: disable
Show Links in Cards+ enableTitle-Only+ enableHandwriting in Backgroundto emphasize the body text.- Walking through a very large mind map: enable
Title-Only+Compact Width, then pair withClick to View Full Cardto explain point by point.- Consistent styling and fine-tuning: first set the main style with the global panel, then use
Branchon key cards for individual differentiation.
2 Mind Map Branch Styles
MarginNote 4 supports a variety of mind map branch styles such as Tree / Line / Two Way / Framework, helping users choose the organization method and the best mind map visuals according to different content and personal preferences. This feature is covered in detail in 10 Branch Styles & Sub-Mind-Map Collapse.
💡 The
Branch Stylein the mind map settings panel is a global setting and changes all cards in the mind map.To modify only a single card and its child-card branches, use the card pop-up menu → Basic →
Branch.
3 Handwriting Settings
3.1 Mind Map Handwriting Background
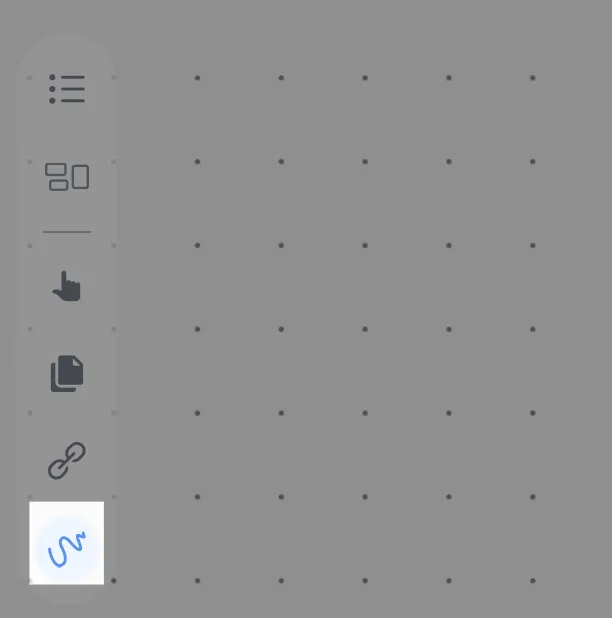
Mind Map Handwriting Tool
💡 To change the
Writing Background, you must first enable theMind Map Handwriting Tool(shown by the icon above).
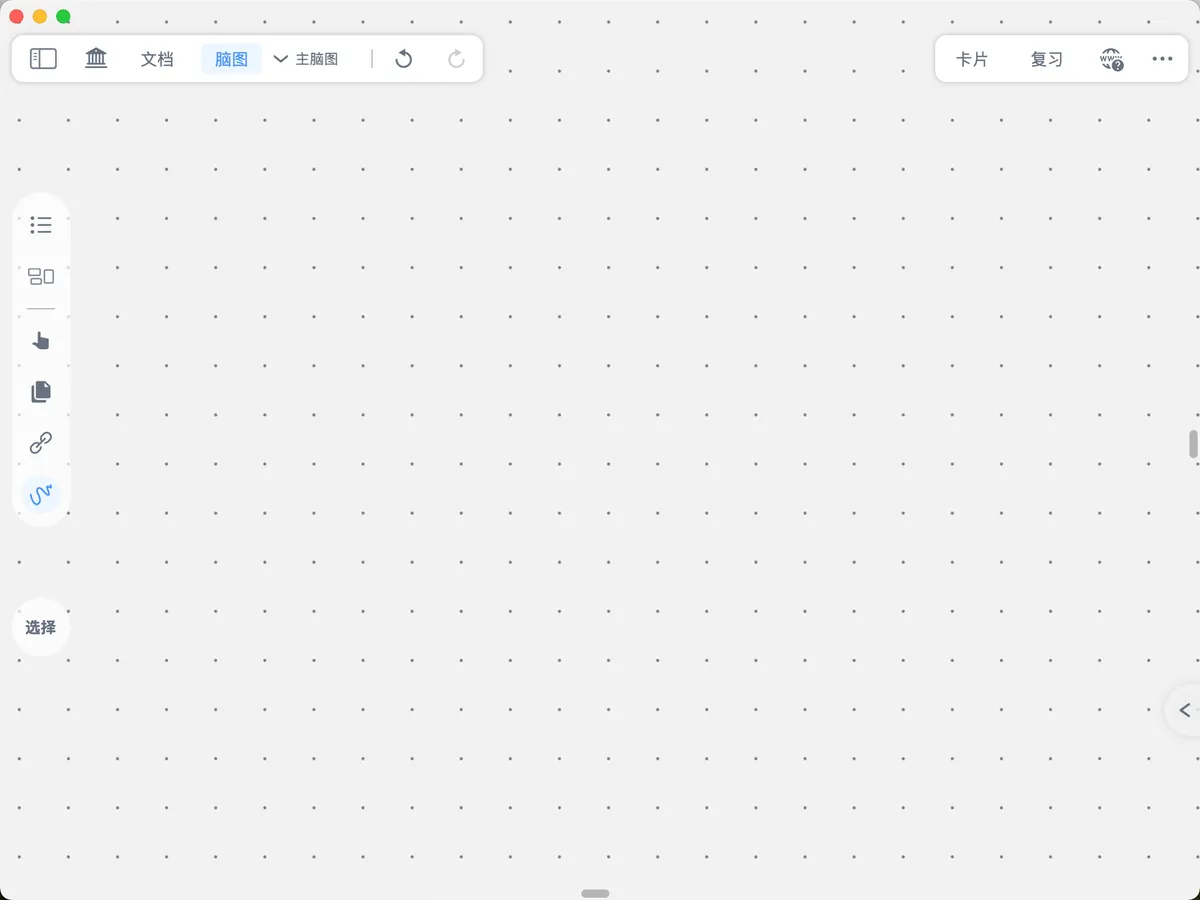
How to: Tap the doodle icon in the Mind Map Toolbar, select a brush type in the Handwriting Toolbar, and you can then write freely in the mind map and change the Writing Background.
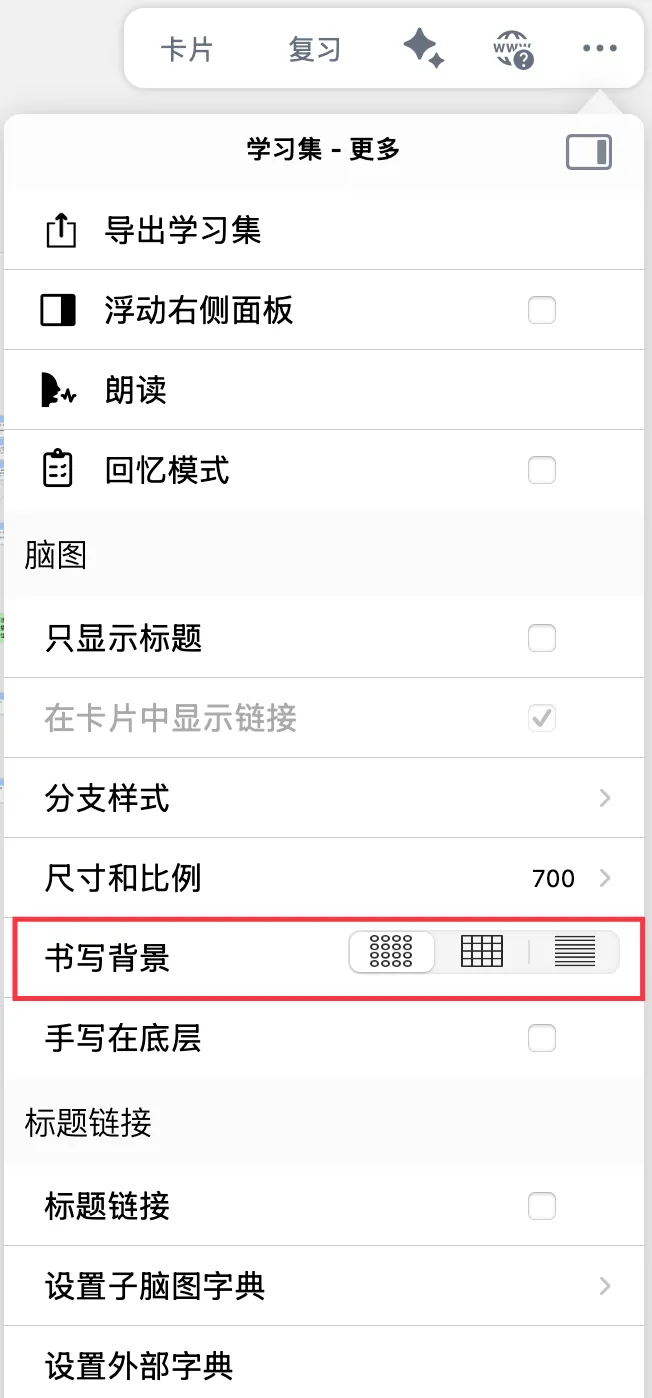
MarginNote 4 offers three backgrounds to choose from:
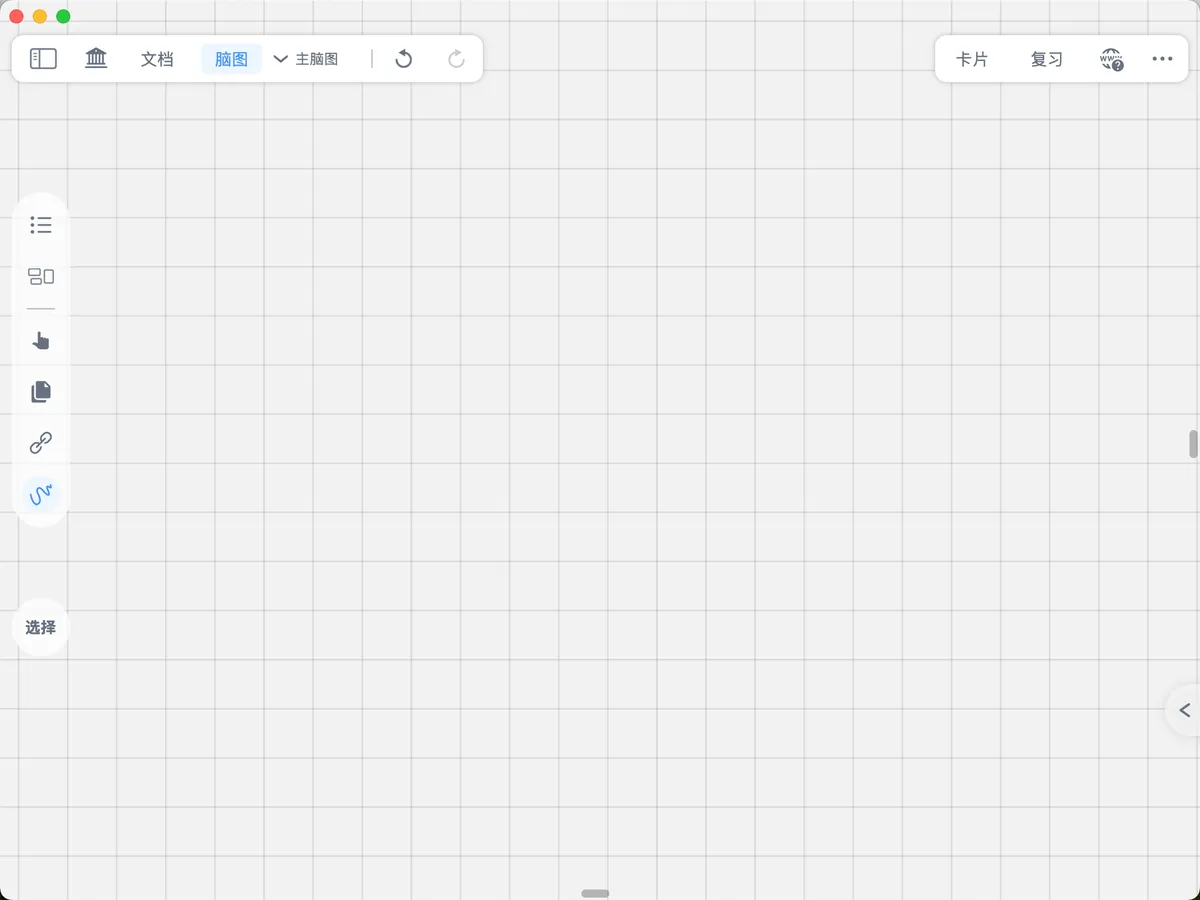
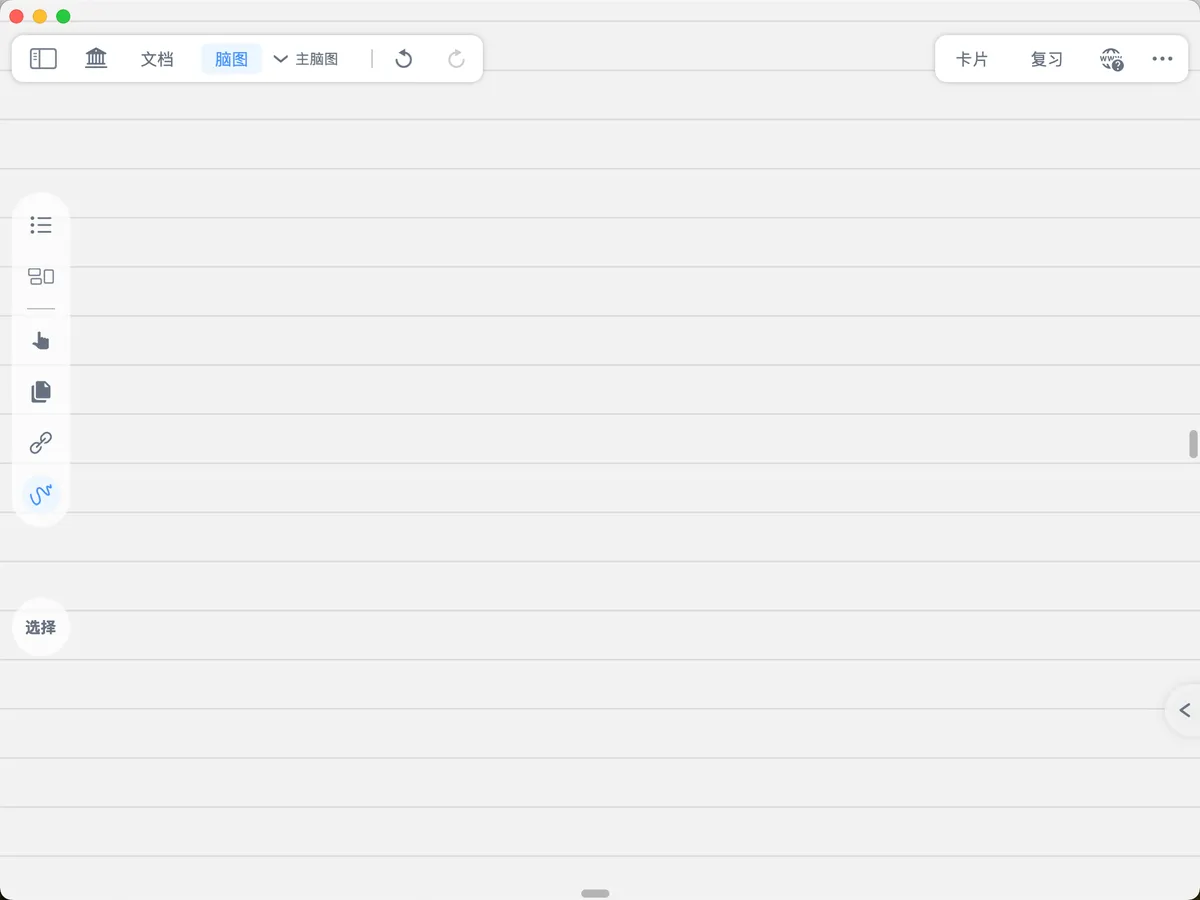
💡 Use cases for the three
Writing Backgrounds:
- Dots: free layout and alignment, suited to brainstorming and non-linear, divergent thinking.
- Grid: diagram sketches and math/engineering calculations, helpful for precise drawing and a sense of scale.
- Lines: quick meeting notes and lecture notes; close to the paper-notebook experience and more comfortable for long text.
3.2 Mind Map Handwriting in Background
Handwriting in Background controls the stacking order of cards and the sketch layer. When enabled, cards are layered on top of the handwriting; when disabled, handwriting is shown on top.
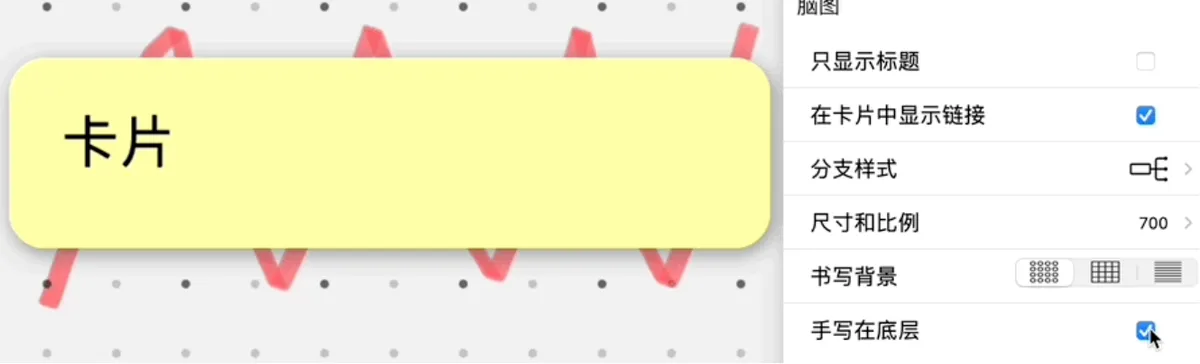
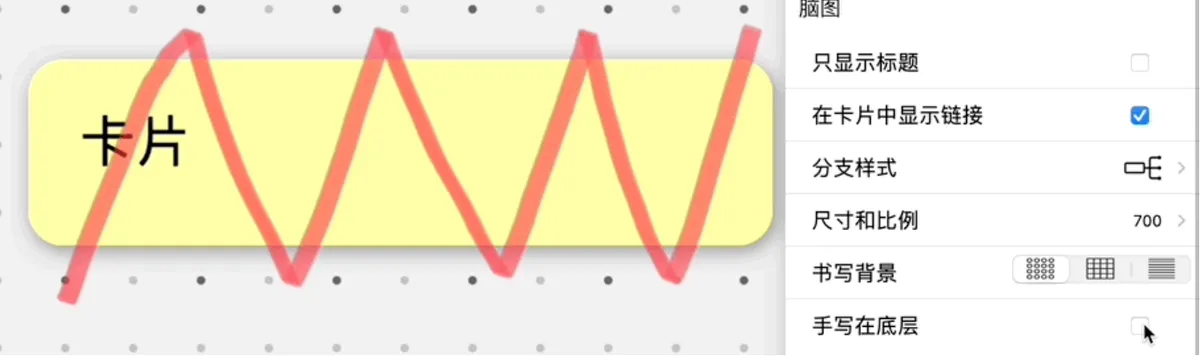
💡 Use cases for
Handwriting in Background:
- Content first (enabled): emphasize card text so you see the body content first when reading.
- Annotation first (disabled): emphasize handwritten marks (such as circles, arrows, and temporary notes), good for reproducing classroom board writing.