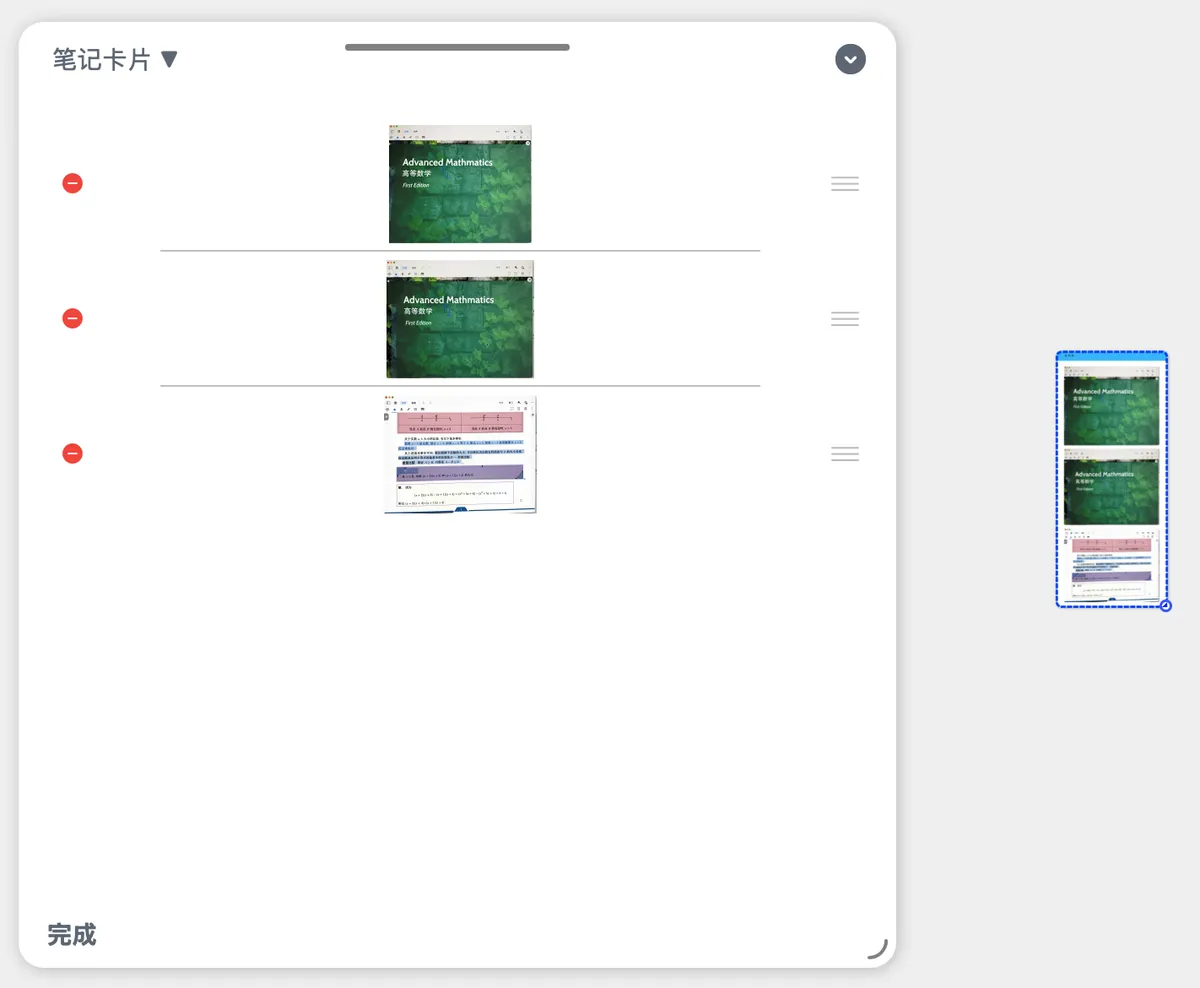
Creating Text Boxes, Images, and Photos
💡
Text box- Annotate in place: Add notes, key points, and questions beside the original text so your ideas do not end up scattered elsewhere.
Image- Illustrate a process: Insert screenshots or diagrams, then resize, copy, cut, or delete them to present information more clearly.
Take Photo- Instant capture for classes, meetings, and book study: Photograph pages, whiteboards, and other materials on the spot, then save them directly as document images or mind map cards.Bring your thoughts, images, and real-time content together on one page for more efficient reading, faster review, and clearer sharing.
1 Adding Text Boxes to a Document
1.1 Standard Text Box

There are three ways to add a Text box:
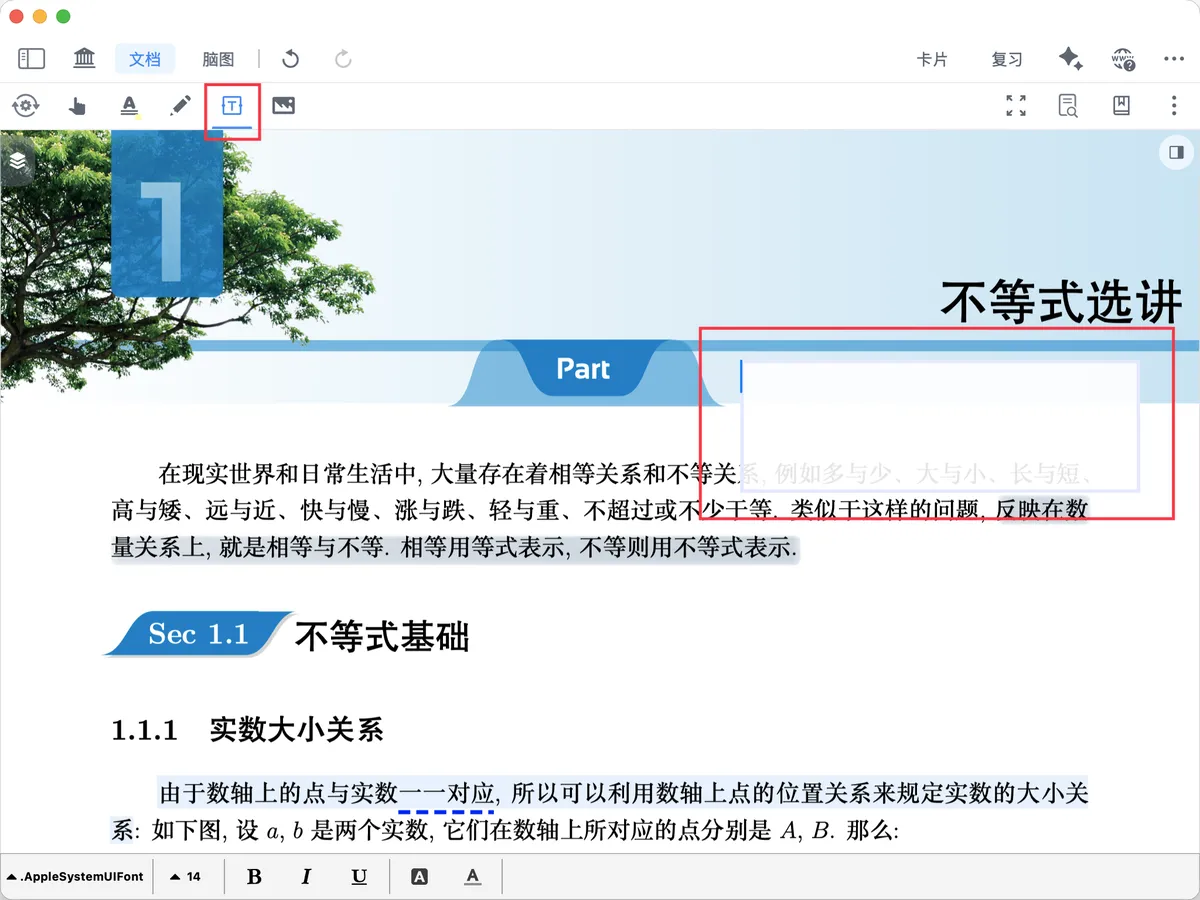
- Method 1: Tap the
Text boxicon in the document's top navigation bar, tap where you want to insert theText box, and enter text in the pop-upText box.
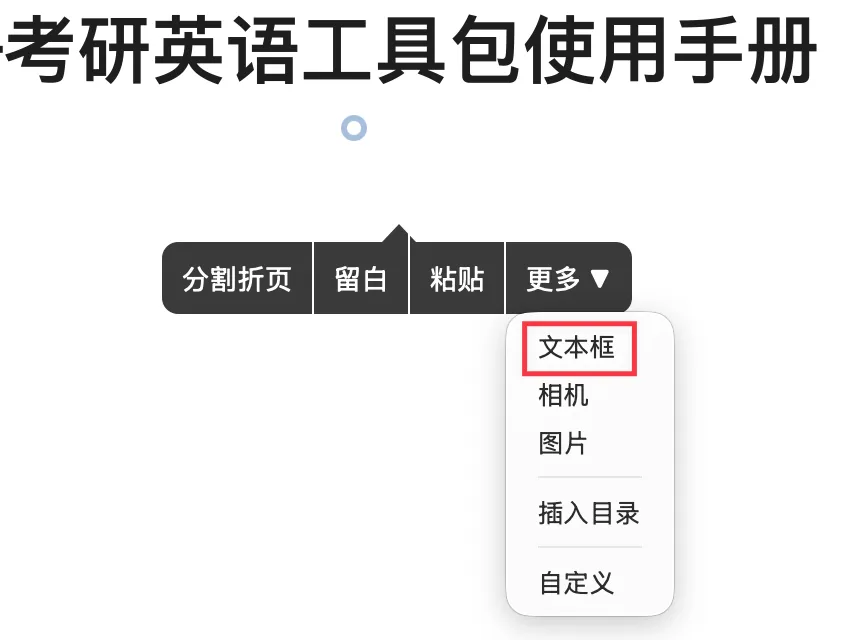
- Method 2: Long-press or right-click a blank area in the document to open the pop-up menu, then tap the
Text boxicon.

- Method 3: Drag text directly from another app. With Split View on iPad or multiple windows on Mac, drag text from another app into a MarginNote document to automatically create a
Text box.
1.2 Markdown Text Box (Version 4.4.5 and Later)
💡Markdown text boxes support URLs, and links inside them can be opened directly. Markdown text boxes are included in document keyword searches and annotation-note browsing, and search-result thumbnails display Markdown content correctly.
There are two ways to insert a Markdown text box:
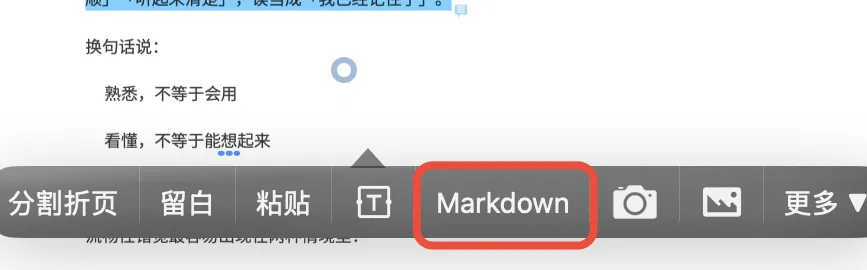
- Long-press or right-click a blank area in the document to open the pop-up menu, then tap
Markdown.
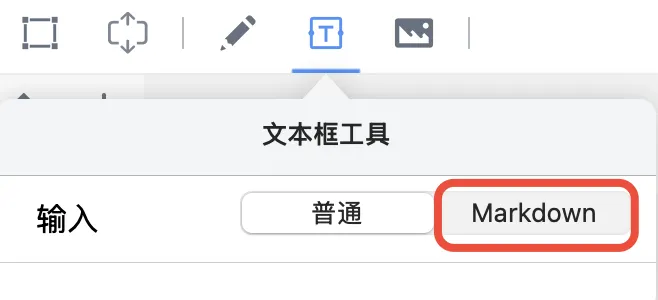
- Tap the
Text boxtool in the document's top navigation bar, switch it to Markdown, and tap the position where you want to insert it.
2 Adding Images to Documents and Mind Maps
2.1 Adding Images to a Document
There are three ways to add an image:
- Method 1: The simplest - Drag directly from another app. With Split View on iPad or multiple windows on Mac, drag an image from another app directly into a MarginNote document.
- Method 2: Tap the
Imagebutton in the document's top navigation bar (as shown by the icon above), tap where you want to insert it, and select an image from the local photo library.

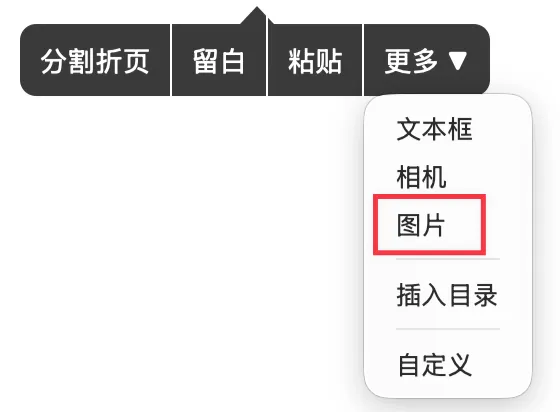
- Method 3: Long-press or right-click a blank area in the document to open the pop-up menu, then tap the
Imagebutton.
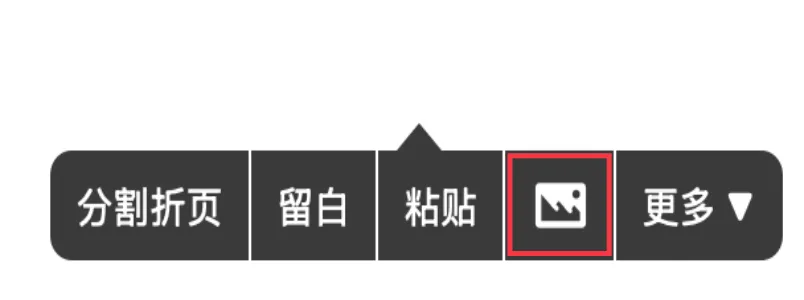
💡On iPad, after adding an image you must deselect the Image icon and switch to Hand Tool - Document or another function in the
document top navigation barbefore you can long-press to open the pop-up menu again; this does not affect right-clicking to open the pop-up menu on Mac.
2.1.1 Image Actions
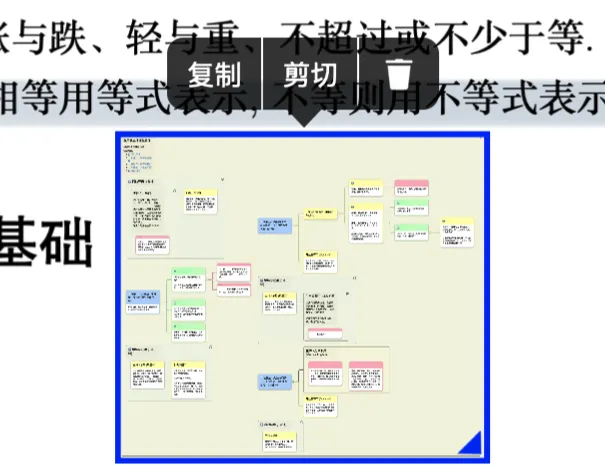
Tap an inserted image to resize, copy, cut, or delete it.
2.1.1.1 Resize
Drag the blue triangle in the bottom-right corner of the image to change its size.
2.1.1.2 Copy
Copy an image and paste it elsewhere.
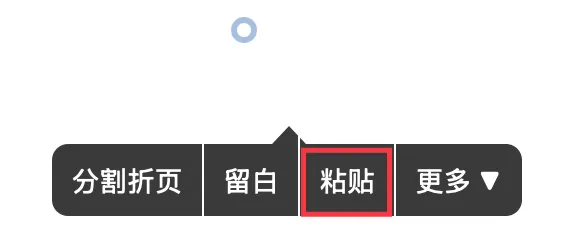
2.1.1.3 Cut
After cutting an image, paste it elsewhere in the document to move it from the original position to the new one; pasting it in a mind map saves it as a new card.
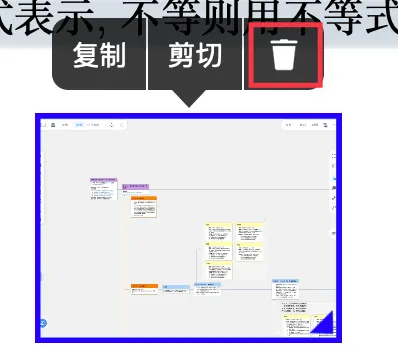
2.1.1.4 Delete
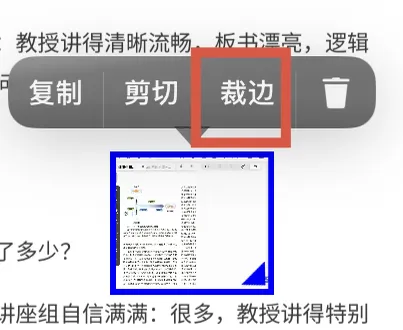
2.1.1.5 Crop (Version 4.4.4 and Later)
You can crop or rotate an inserted image and change its aspect ratio.
⚠️If you cropped the image while inserting it, the crop cannot be undone.
2.2 Adding an Image as a Mind Map Card
There are two ways to add an Image to a mind map:
- Method 1: The simplest - Drag directly from another app. With Split View on iPad or multiple windows on Mac, drag an image from another app directly into a MarginNote mind map.
- Method 2: Paste an image from the system clipboard directly into the mind map (Command+V) to create a new card containing the image.
3 Taking Photos in Documents and Mind Maps
💡The MarginNote camera automatically uses a continuous scanner to capture useful content in view; you can also tap the shutter button yourself.
3.1 Taking a Photo in a Document and Inserting It as an Image
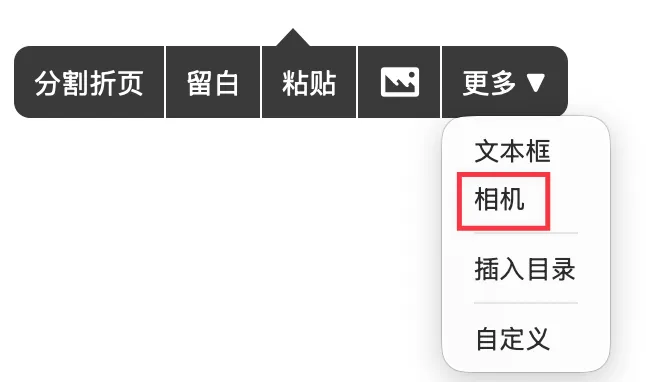
Long-press or right-click a blank area in the document to open the pop-up menu, then tap the Camera button (as shown by the icon above) to take a photo. Photo actions are the same as the document Image actions described above.

3.2 Taking Photos in a Mind Map and Saving Them as a Card
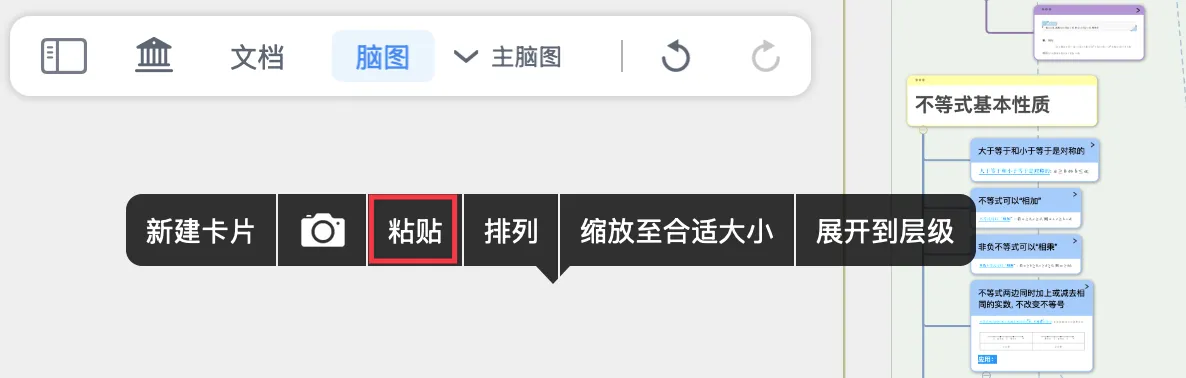
- Tap a blank area of the mind map to open the pop-up menu, then tap the
Cameraicon to take a photo.
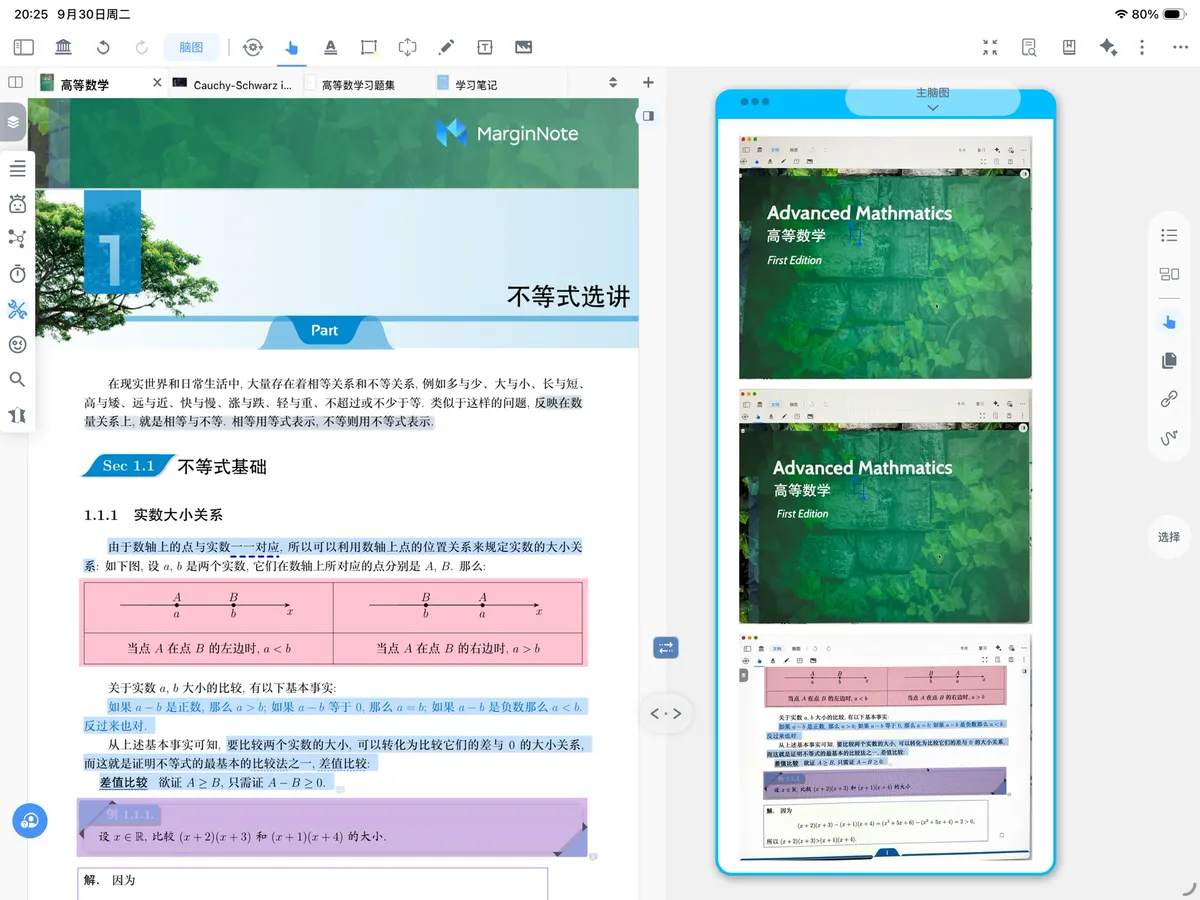
- After shooting, one or more photos are saved as a single card.
-
Each photo becomes a comment, and you can rearrange the photos in the card editor.